Overlay - Hotspot Popup Content
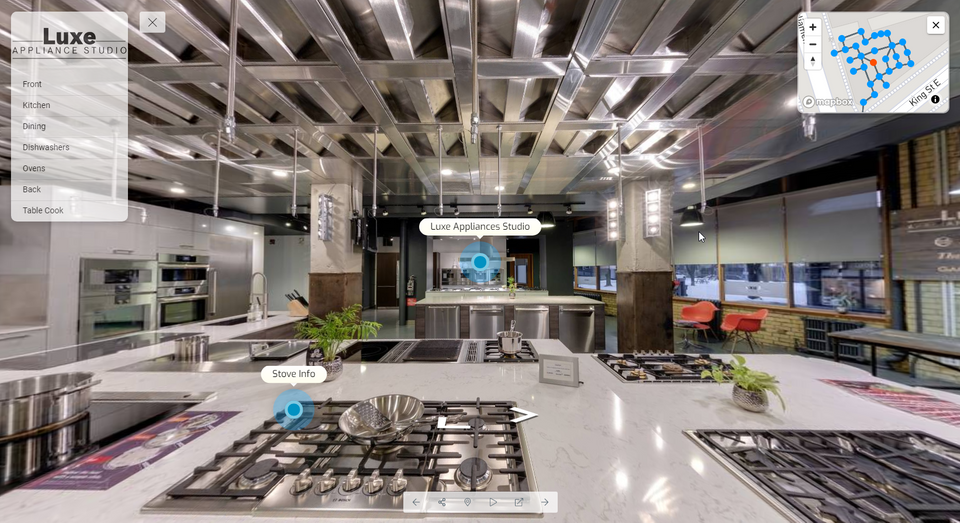
The popup content section is where you can add content to the popup. You can embed nine content types -- simple, HTML, Image-left, Image-top, video-top, image, video, audio, and iframe.
How to work with the popup content types?
The following is the step-by-step guide on how to work with the available content types under the popup content section.
1. Simple
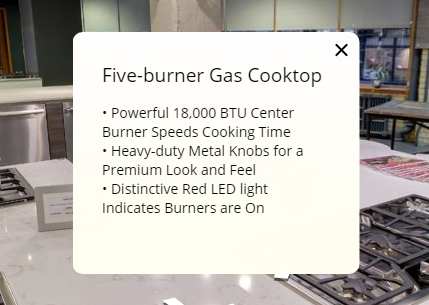
Simple sets a title with a brief explanation. In general, you can put briefly the main information to help the visitors better understand the product, without opening a new tab to look for the information.

How to add the simple content type:
- Navigate to the content type section under the hotspot settings.
- Select the content type. Content type > Simple.
- Enter the title and add brief information about the selected item.
- Finally hit save to save the changes.
The following is the example of the simple content type.
2. HTML
HTML content type allows you to add a unique HTML code that embeds a webpage and its content to the virtual tour. The HTML <img> tag will embed an image of a web page that is not only technically inserted into a virtual tour, but also linked to the web pages.
How to add a content using an HTML code:
- Navigate to the content type section under the hotspot settings.
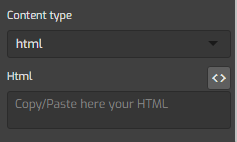
- Select the content type. Content type > HTML.
- Generate the HTML embed code of the target webpage.
- Highlight the HTML embed code, then copy it to your clipboard.
- Paste the HTML you just copied into the HTML field.
- Then click Save.
3. Image-left
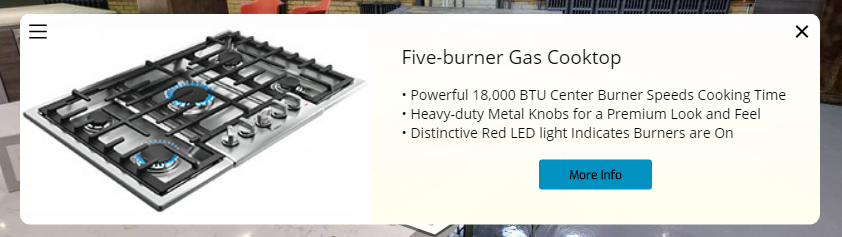
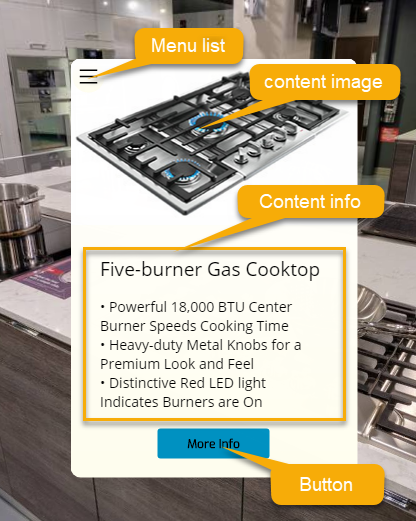
It allows you to create a Popup that contains an image/photo with a piece of brief information appended on the right side. Image-left content enables you to showcase a specific area or product details so the visitors will better understand the area or product.

How to add an image using the image-left:
- Navigate to the content type section under the hotspot settings.
- Select the content type. Content type > Image-left.
- Click the “+” button to add an image to the popup.
- Include a title and add brief information about the desired item.
- You can also add a menu list to the popup. Enter a menu in the field then connect it to a website URL.
- You can also add a button to the popup such as "Buy Now" button and so on. Enter the button name then connect it to a website URL.
- Adjust the media size using the slider so the image can fit the background properly.
- Then click save to save all the changes.
The following is the example of the image-left content type.
4. Image-top
Similar to Image-left content, the image-top also allows you to showcase a specific area or product details with a caption appended to the image. The image-top uses options that can be set in the same way as the image-left content type above.
The following is the example of the image-top content type.
5. Video-top
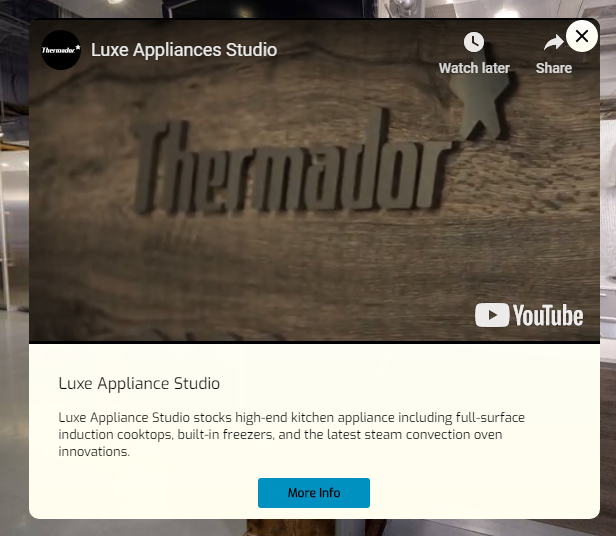
It allows you to create a popup that contains a video with a description underneath. In general, visitors simply click on the hotspot to view a Youtube/Vimeo video that has the information related to the marked item.

How to add a video to the hotspot popup:
- Navigate to the content type section under the hotspot settings.
- Select the content type. Content type > Video-top.
- Find the video on Youtube or Vimeo.
- Highlight the video URL, then copy it to your clipboard.
- Paste the video URL you just copied into the video URL field.
- Include a title and add brief information about the video.
- You can also add a button to the popup such as "More Info" button and so on. Enter the button name then connect it to a website URL.
- Adjust the media size using the slider so the video can fit the background properly.
- Finally, click the save button.
The following is the example of the video-top content type.
6. Image
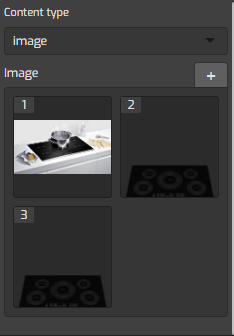
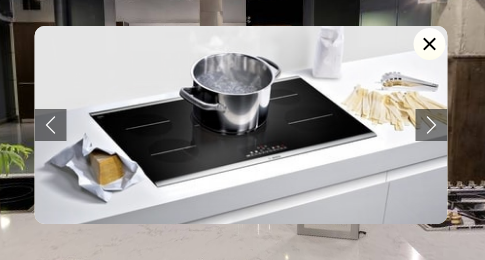
Similar to Image-left and image-top content type, the image content also allows you to add images or photos onto the hotspot popup but it shows the images in a form of a gallery.
How to add images using the image content type:
- Navigate to the content type section under the hotspot settings.
- Select the content type. Content type > Image.
- Click the “+” button to add an image to the popup.
- Repeat the previous step to add more images to the content.
- Adjust the media size using the slider so the image gallery can fit the background properly.
- Then click the save button to save all the changes.
The example of the image content type:
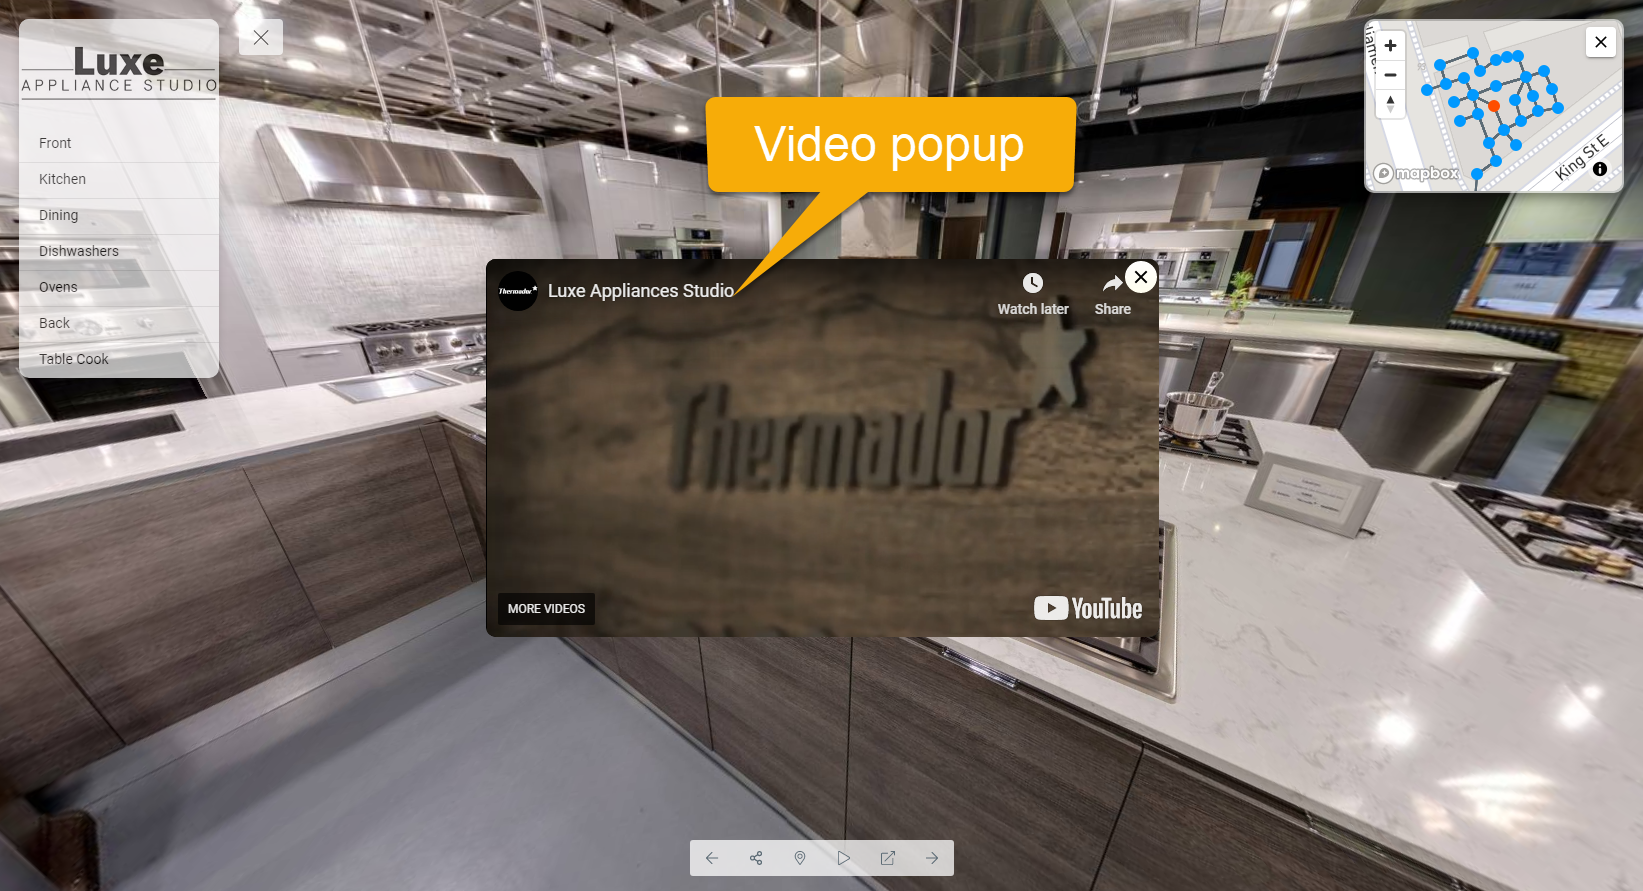
7. Video
Similar to video-top content, it allows you to create a Popup that contains a video but without a caption. You can insert a Youtube/Vimeo video to the hotspot content that has the information related to the product. The video content type uses options that can be set in the same way as the video-top above but the video content type comes without a caption or a button.
The example of the video content type:
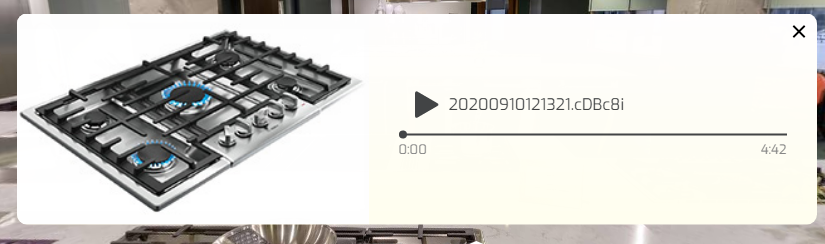
8. Audio
It allows you to attach an audio file to the hotspot that has the information related to the product. In brief, you can place your product audio into the virtual tour that makes your tour more appealing to consumers.
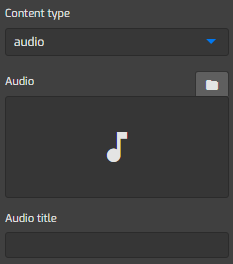
How to add audio to the popup:
- Navigate to the content type section under the hotspot settings.
- Select the content type. Content type > Audio.
- Click the audio menu to add audio to the popup.
- Include a title for the audio.
- You can set the audio to auto play and a light mode (optional)
- Then click Save to save all the changes.
The example of the audio content type:
9. Iframe
It embeds a webpage on the hotspot using the Iframe code. Using Iframe content type, you can embed documents, videos, and interactive media within a virtual tour and the visitors can easily connect to a link that contains information about the product.

How to add a Content using an iframe:
- Navigate to the content type section under the hotspot settings.
- Select the content type. Content type > Iframe.
- Prepare the website URL you want to embed.
- Highlight the URL, then copy it to your clipboard.
- Paste the URL you just copied into the Iframe field.
- Finally, click the Save button.