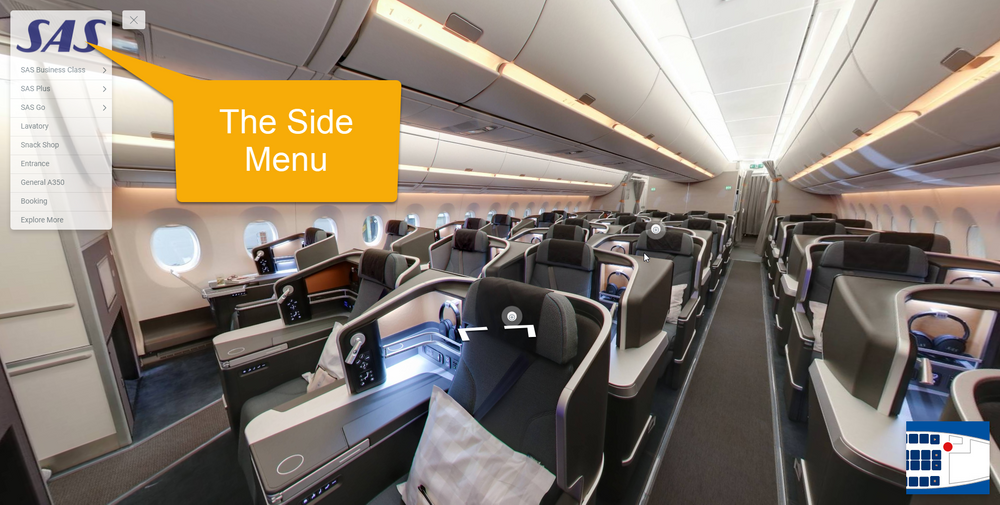
How to Add a Simple Text Entry to the Side Menu Plugin
In addition to articles about Menu Overlay, this article will show you the steps to add a simple text entry to the side menu.
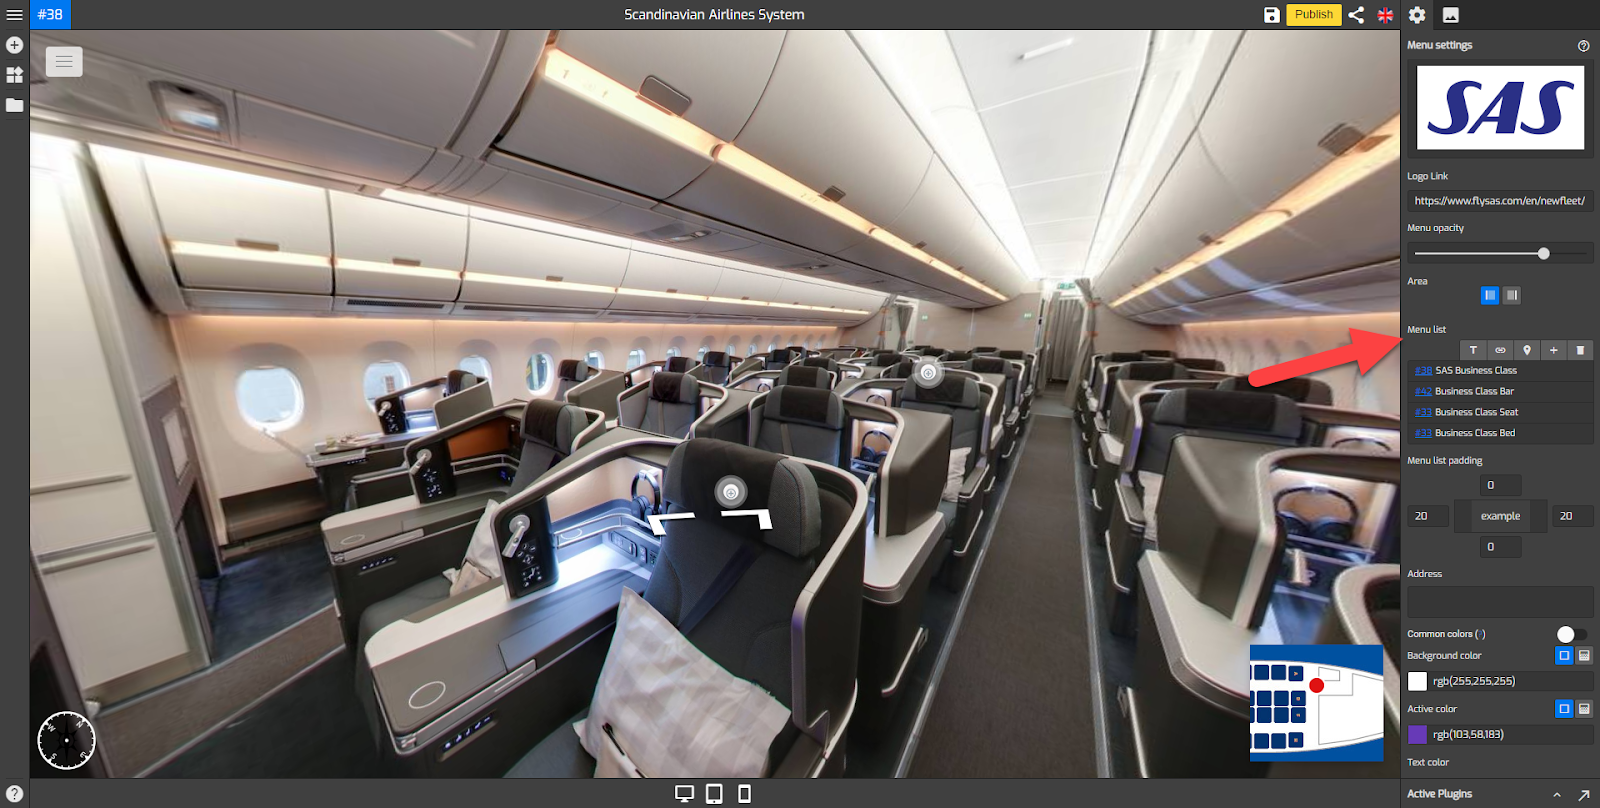
You can access it via Menu Settings (Plugin Manager > Menu > Side Menu) or via the Active Plugin (Active Plugins > Side Menu).
How to add a simple text entry to the side menu?
1. Under the Menu settings, navigate to the Menu list.
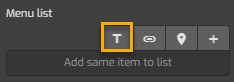
2. Here you can find four options available - Text, Link, Hotspot, and Active Pano.
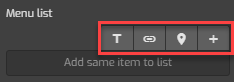
3. To add a simple text entry to the menu, you can click the Text (T) button.
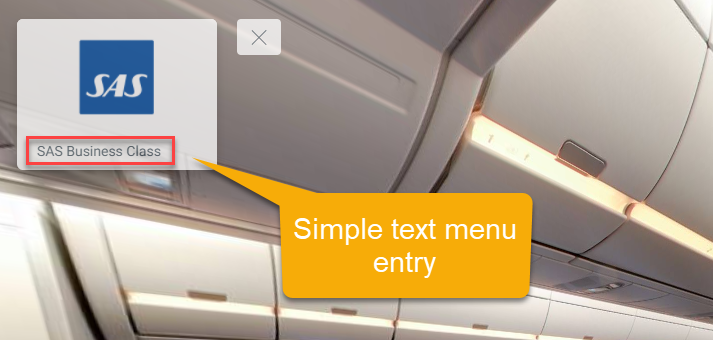
4. After that you can enter the name of the menu entry you want to add like in the example below, SAS Business Class is added to the menu list.
5. Overlay will automatically add the text to the menu entry as shown in the following example.

6. If you want to change the text in the menu entry you can click on the Edit button on the selected menu item.
7. You can also add a symbol for the menu icon. To add that icon, first, you choose the desired menu entry then select either the icon. For more detail about how this icon works, you can see “How to Add an Icon to an Entry in the Side Menu Plugin”
8. Overlay Editor also allows you to use this simple menu entry as a parent menu for the sub-menu entry. In the following example, the Business class bar, Business class seat, and Business class bed are added to SAS Business Class as the parent menu. For more detailed information about sub-menu entry, you can see "How to Add a Sub-menu Entry to the Side Menu".

9. Once you are happy with your menu entry, just click “save” and “publish” to see the results.