How to Add an Icon to an Entry in the Side Menu Plugin

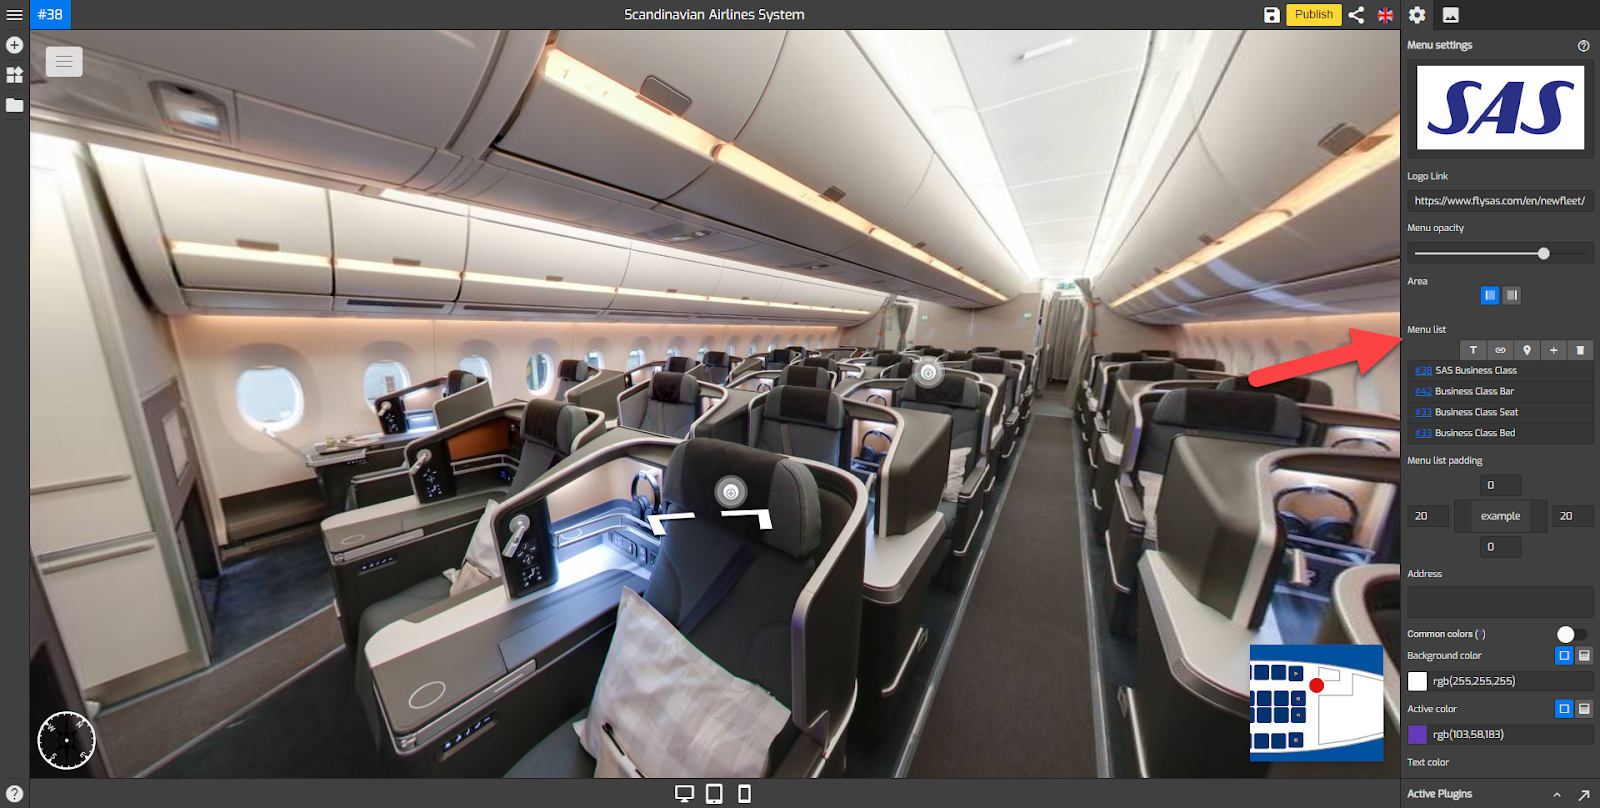
This tutorial will be looking at the steps on how to add an icon to a menu entry. You can access it via Menu Settings (Plugin Manager > Menu > Side Menu) or via the Active Plugin (Active Plugins > Side Menu).
The following are the steps on how to add an icon to an entry in the side menu plugin:
1. Under the Menu settings, navigate to the Menu list.
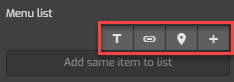
2. First you have to add one menu entry to your menu, either Text, Link, Hotspot, or Active Pano. The menu icons work for all of those menu list options.
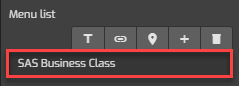
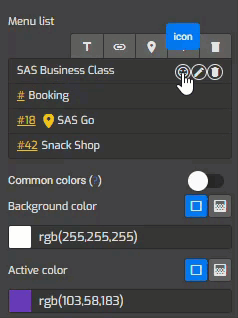
3. After you add the menu entry, you can select one of the menu entries you want to put the icon on. In the example below, we will add an icon to the `SAS Business Class` menu entry.
4. Hover your mouse over the menu entry, there you find the button hovers - icon, edit, and remove buttons.
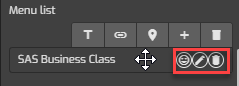
5. To add an icon, you click on the icon button then search and select one icon from more than 3000 symbols available on Overlay Editor like in the following example.
6. Overlay will automatically add the icon to the menu entry and show it over the side menu. Once you are happy with the icon, just click “save” and “publish” to see the results.
