How to animate icons in the Side Menu plugin
In this tutorial, you'll learn how to animate icons in the Side Menu plugin and create a more engaging user experience for tour visitors.
Let's go ahead and play with this cool feature.
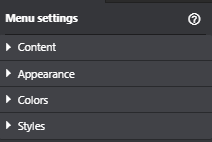
1. Under the Menu settings, navigate to Content then Menu list.
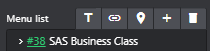
2. Add a menu entry.
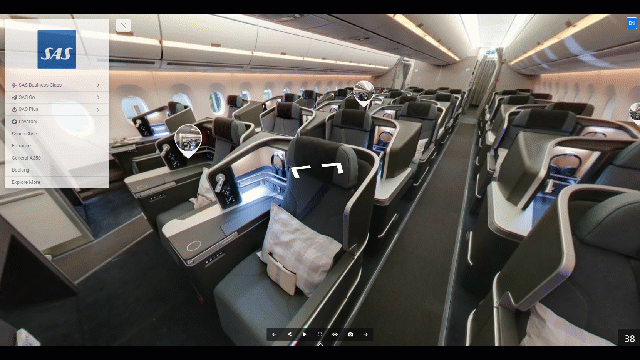
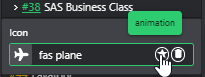
3. After you add the menu entry, add an icon. In the example below, we will add an icon to the `SAS Business Class` menu entry.
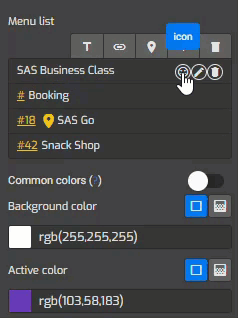
4. To add an animation, press animation on the icon box.
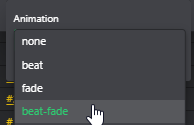
5. Then select an animation that suits your tour best.
- Beat animation: A type of animation where an object or element repeatedly expands and contracts in size or changes opacity to create a pulsating effect.
- Fade animation: A type of animation where an object or element gradually disappears or becomes transparent over time.
- Beat-fade animation: A combination of beat and fade animation where an object or element pulsates while also gradually disappearing or becoming transparent.
- Bounce animation: A type of animation where an object or element appears to bounce up and down, usually by using the laws of physics to simulate the effect of gravity and momentum.
- Flip animation: A type of animation where an object or element rotates around a central axis to create the illusion of flipping or turning over.
- Shake animation: A type of animation where an object or element appears to shake or vibrate rapidly, often to simulate the effect of movement or instability.
- Spin animation: A type of animation where an object or element rotates or spins around its center point or an external axis, often to draw attention or create a sense of dynamism.
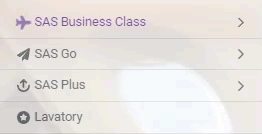
6. Once you select an animation, the way the icon animates within your tour will be altered immediately.
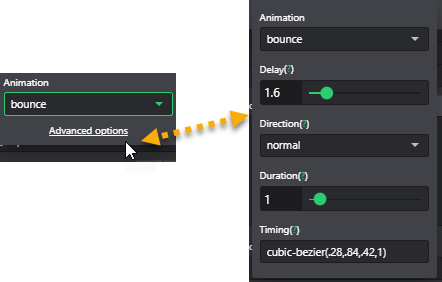
7. The icon animations that are available are not only visually appealing, but they also come with advanced options that allow you to customize the direction and timing of the animation. This means that you can modify the way the animation appears and how long it lasts, giving you more control over the look and feel of your tour project.
Simple as that! Once you are happy with the setup press Save and Publish to apply the changes.