How to Apply a Nadir Image to Your Panoramas Using GoThru
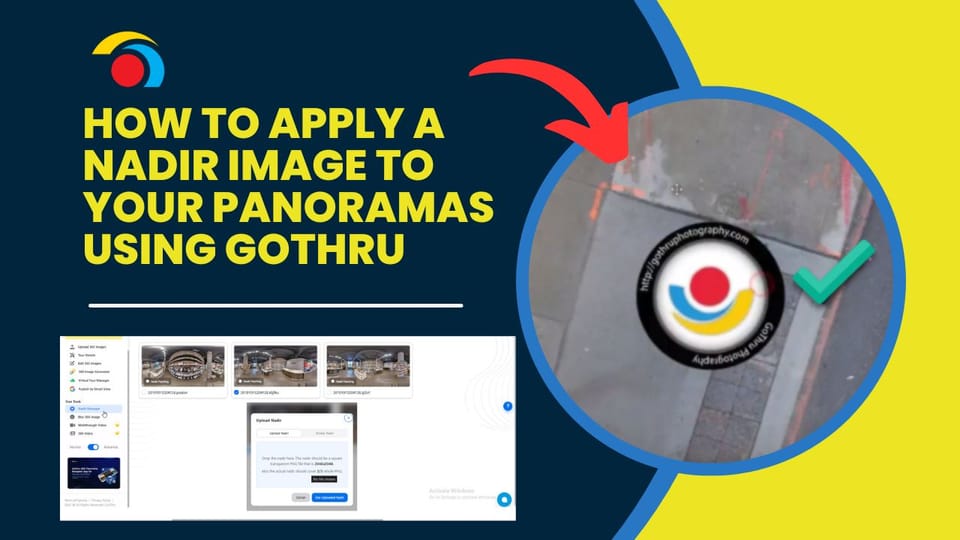
If you want to professionally brand or clean up the bottom (nadir) area of your panoramas—where tripods or equipment are usually visible—GoThru allows you to patch it with a custom nadir image. Here's how to apply a nadir patch using the Nadir Manager.
What You Need:
- A transparent PNG file sized 2048x2048px.
- The nadir image should ideally cover 2/3 of the PNG with the design centered.
Step-by-Step Guide
1. Open the Nadir Manager
- From your Tour Dashboard, click Tools > Nadir Manager on the left menu.
- You’ll see all panoramas in your tour listed.
2. Click "Upload Nadir"
- In the Nadir Manager, click the Upload Nadir button.
- A new window will open where you can drag and drop your nadir image or select it manually.
- You also have an option for Global Nadir, which lets you apply a single image across all panoramas.
3. Apply Your Nadir Image
- After uploading, you’ll enter the Nadir Patching interface.
- Adjust the Scale Nadir and Rotate Nadir sliders to fit the nadir patch over the bottom area properly.
4. Choose Where to Apply
- You can apply the nadir to:
- Selected panoramas using the Apply Selected toggle, or
- All panoramas by enabling Apply All.
5. Apply Changes
- Once you're happy with the positioning, click Apply.
Note: Once the nadir is applied, it cannot be undone. To remove it, you’ll need to re-upload the original 360 images (with the same file names). GoThru will automatically re-link them to your tour.
Tip:
If you'd like a mirror ball instead of a logo or branded nadir, use the "Use Mirror Ball" toggle instead of uploading an image.
c