How to Archive a Tour That You Have in GoThru

Archiving a tour in GoThru helps free up your storage by deleting panoramas from your account, while still allowing the possibility to restore or reuse them later.
Follow these steps:
Step 1: Access the Tour Details
- From your GoThru Dashboard, open the tour you want to archive from the list under “My Tours.”
- Click Tour Details in the Tour Menu on the left.
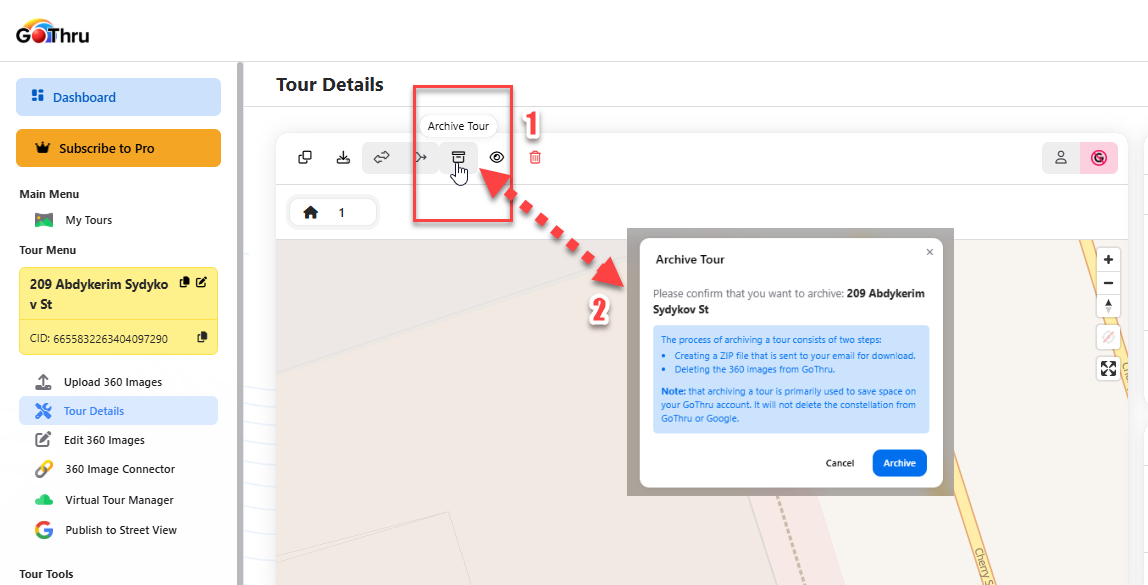
- At the top of the tour view, click the Archive Tour button. (See label 1 in the image)
Step 2: Confirm Archiving
- A confirmation window will appear explaining the archive process.
- Click the blue Archive button to proceed. (See label 2)
Step 3: Download the Archive File
- Shortly after archiving, GoThru deletes the panoramas from its servers and sends you an email with a download link to the archive ZIP file.
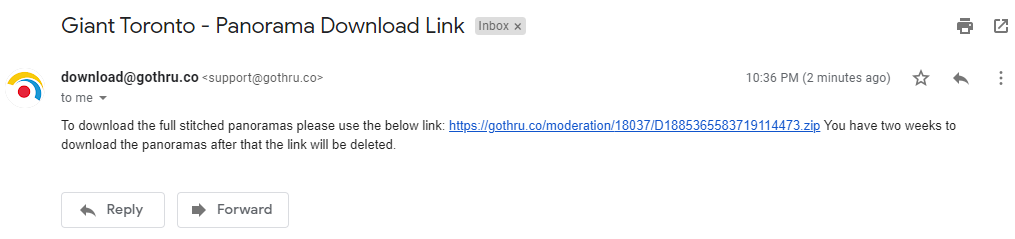
Step 4: Access Your Archive via Email
- You will receive an email containing the archive file’s download link.
- The link is valid for two weeks.
- Below the confirmation, you’ll see an example of the notification text.
Step 5: Save the Archive
- Use the link in the GoThru email to download the file and save it to your local storage or Google Drive for future use.
Step 6: Update Storage After Archiving
- After archiving, go back to the Storage section in the left-hand menu and click Update Storage. Note: It might take a few moments for your updated available space to reflect.
Step 7: Re-upload When Needed
- If you ever need to edit or restore the tour, you can re-upload the panoramas to the same constellation.
The tour’s metadata remains intact in GoThru.