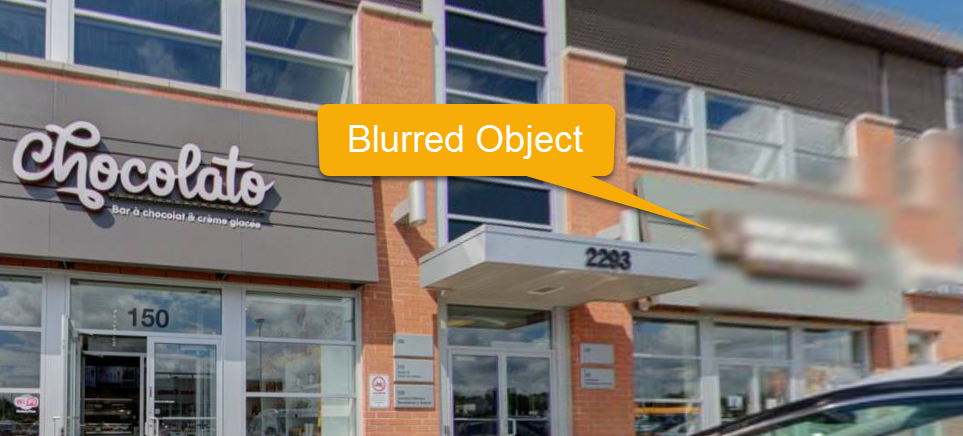
How to Blur Using GoThru

Some panoramas to be uploaded on Google Street View might require blurring to protect the image rights of any individual appearing in the panoramas, for instance, car numbers, human figures, or any sensible information.
GoThru helps you do the blurring in a few easy steps.
Step 1: Select the areas you want to blur
- Choose the tour where you need to do the blurring and open it in the Moderator.
- Open the desired panorama in the main viewer.
- Activate the Blurring Mode by pressing B from the keyboard.
- Press Shift and, on the image, select with the left mouse click the area you want to blur.
- In case the details to be blurred are too small, you can use Shift + Z to zoom in the desired area and then draw the area to be blurred.
- Carefully navigate through the tour to find all the spots that need to be blurred and perform the actions described above.
- When you are done blurring, save the changes by pressing Ctrl + S or by choosing Save from the upper left corner menu of the Moderator.
Step 2: Apply the blur
- Now go back to the Constellations section and press the Tool button.
- Press the Blur button to apply the blur instantly.
- Now, wait until the blurring process completed. The blurring process will take 5-10 minutes, depending on the size of the constellation.
- To verify if the blur was applied to the panoramas, press the Preview button, and inspect all the blurred spots.
Step 3: Publish
- Press Google button -> Publish. A dialog box will open asking you to confirm the blurring, so press Start Blurring.
- Please double check your constellation before publishing to make sure that all the blurring was applied.
- Now your tour is ready to be published (or updated). On the Constellations screen, press the Google button -> Publish your tour to Google Street View -> Start Publishing.
- GoThru will automatically detect that some images have been modified and will erase them, replacing them with the blurred images you have just uploaded.

