How To Add Map Image In Berlin Map Plugin
Extending the previous post about Berlin Map Plugin that is supported by an automatically expanded view, this article covers how to add and change map images in the Berlin map plugin.
You can follow an easy tutorial as demonstrated below.
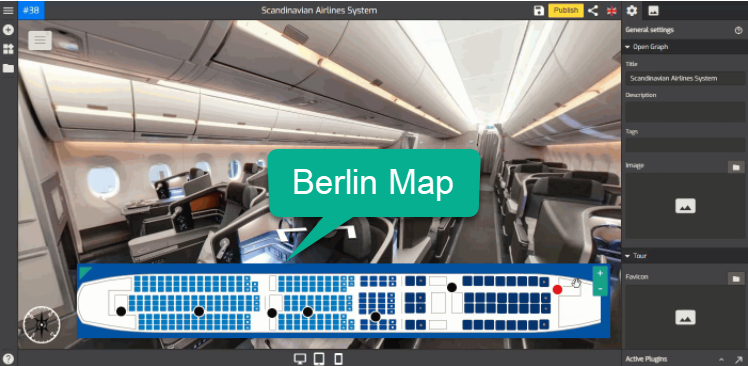
1. Click on the “+” button (or A key) then select Berlin.

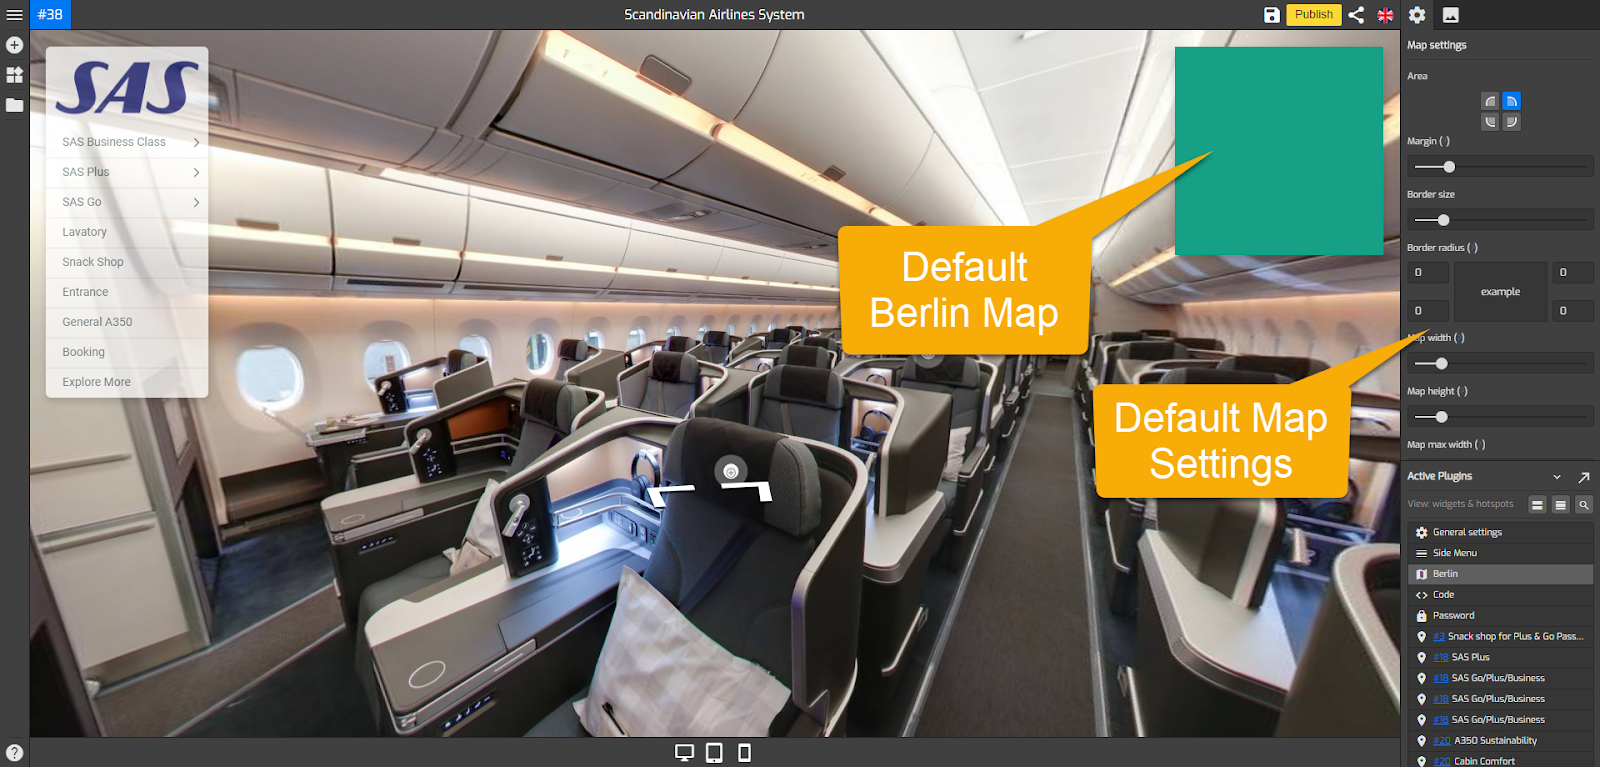
2. The default Berlin map appears on the top right corner and the active Berlin plugin settings on the right panel.
3. In the map settings, navigate to the Map Image section.
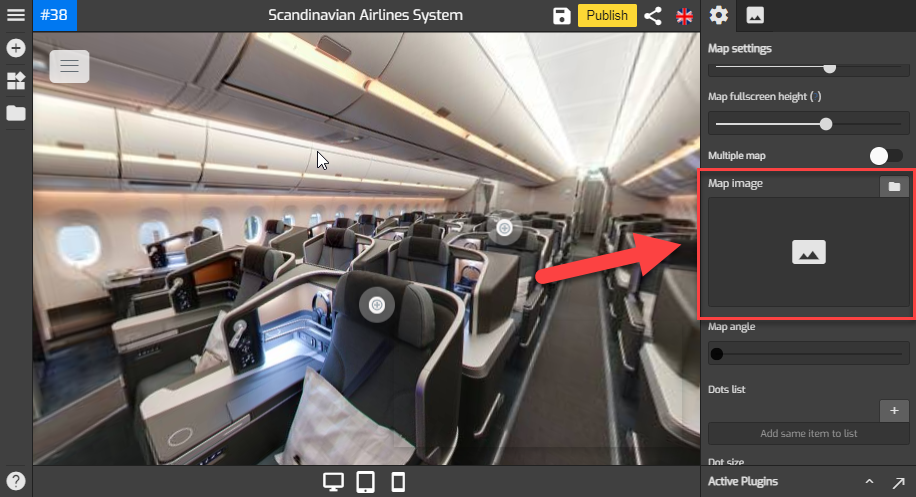
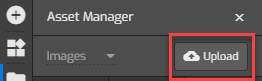
3. To add the map image, simply click on the section to bring up the asset library, where you may choose an image or upload a new one from your computer.
4. Select the image from the Asset Manager.
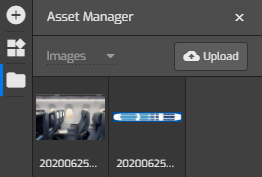
5. If you prefer to upload a new image from your computer, simply press the Upload button in the Asset manager.
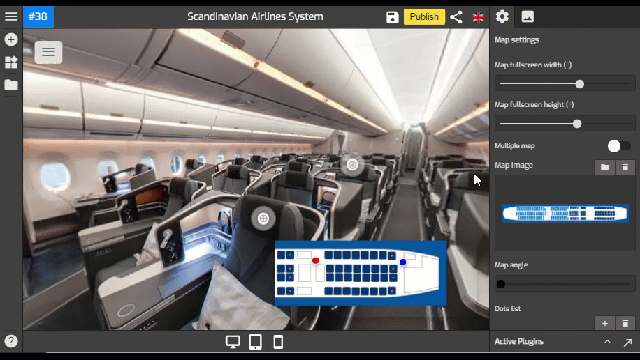
6. GoThru will add the selected image, and the full size will be displayed in the map expanded view.

7. For the multiple map option, you can switch on the multiple map toggle to add a new floor to the map then follow the previous steps to add the map image as demonstrated in the example below.
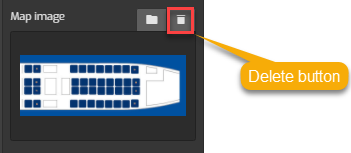
8. You can change or replace the image by first deleting the old one and then uploading the new one.
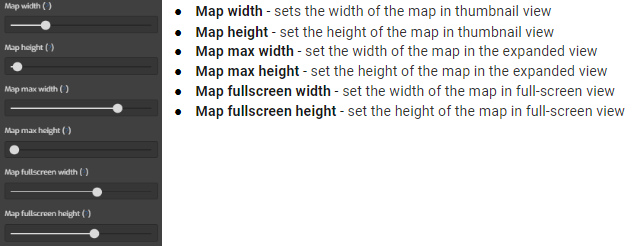
9. Adjust your map size using the map size sliders such as map height or fullscreen height and width so it can fit the map images properly.
That's it! Now you can proceed to the next process like connecting panoramas to the map or adjusting the layout. For more detailed information about Berlin Map plugin, you can refer to How to Work with Berlin Map Plugin.