How to Connect Panoramas to the Map
In this tutorial, you will be looking at how to connect panoramas to the map in Berlin Map.
To perform this operation, you can follow the following steps.
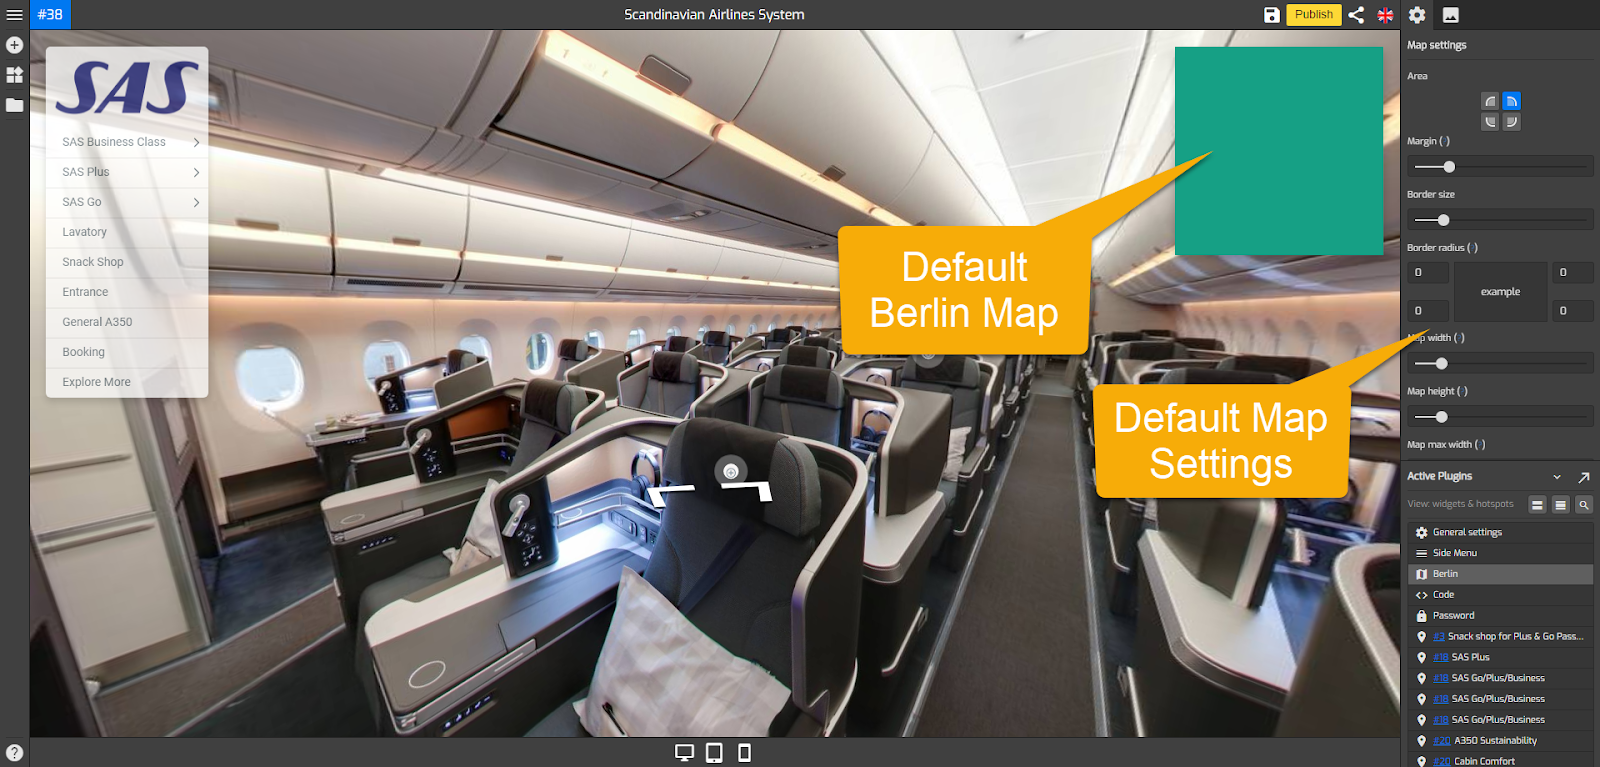
1. Go to Map Settings (Plugin Manager > Berlin Map) or via Active Plugin (Active Plugins > Berlin Map).
2. Navigate to the dots list under map settings.
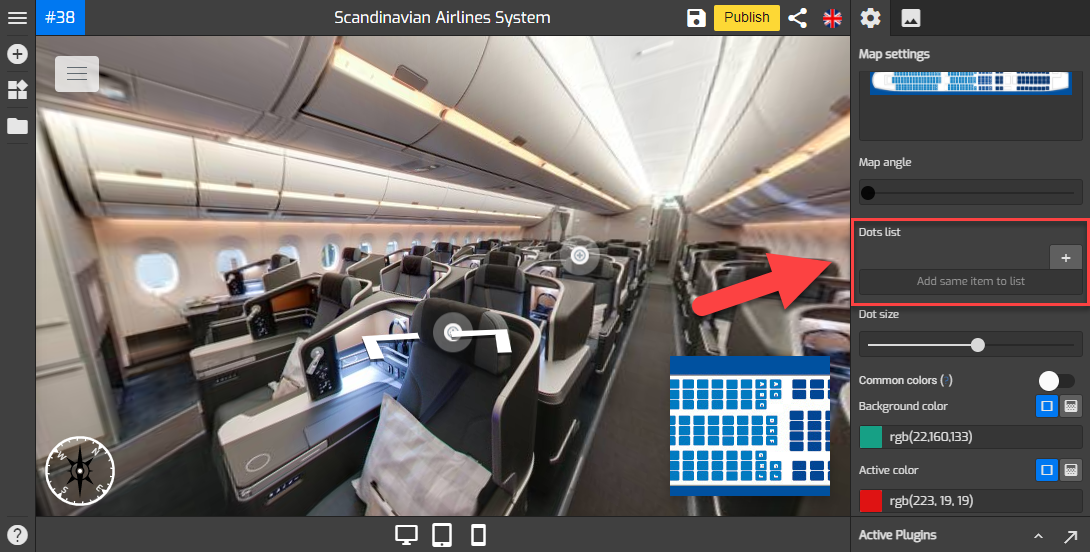
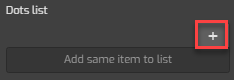
3. On the dots list, you see the plus `+` button that will be used to add the active panoramas to the map.
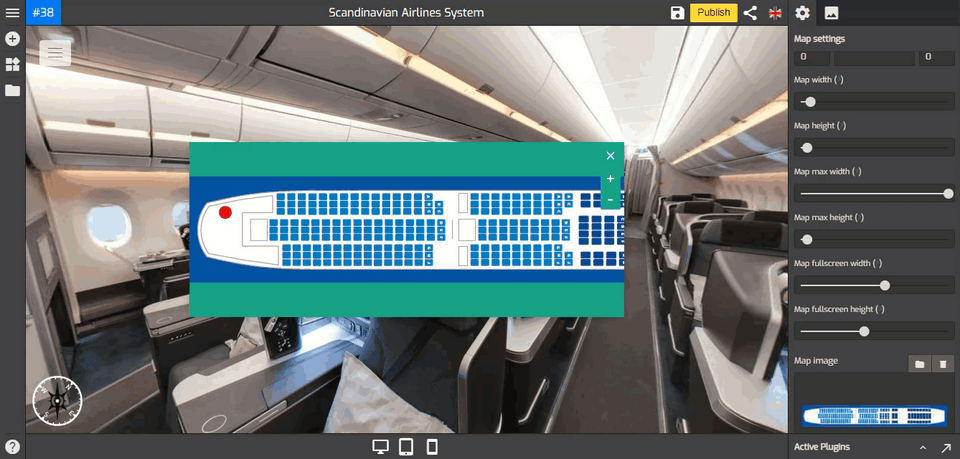
4. Before you add a panorama to the map, you have to select the panorama first and put that pano in an active position. You see in the example below pano number #38 is the active pano.
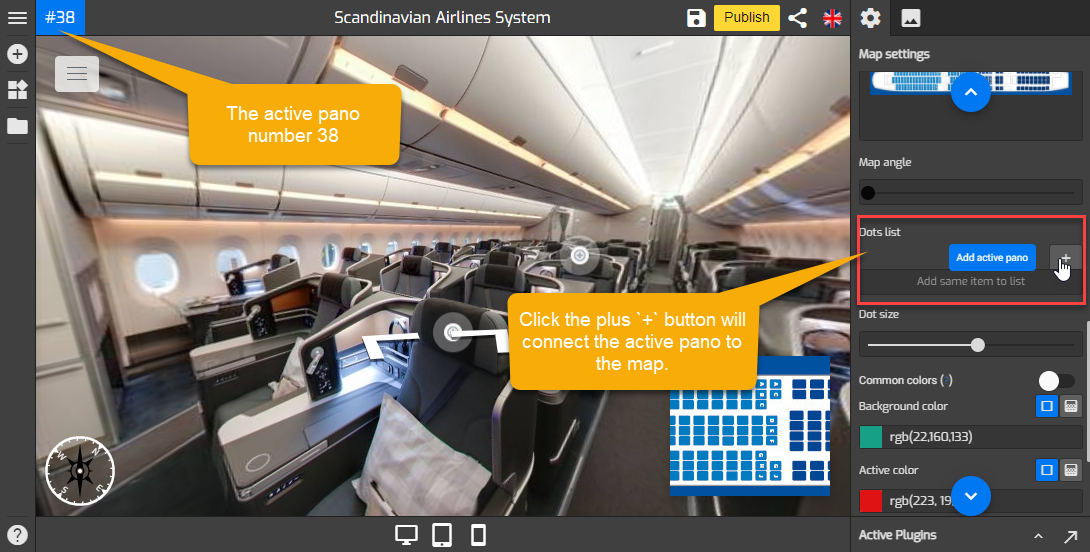
5. Now, click the plus `+` button to add the active pano to the map.
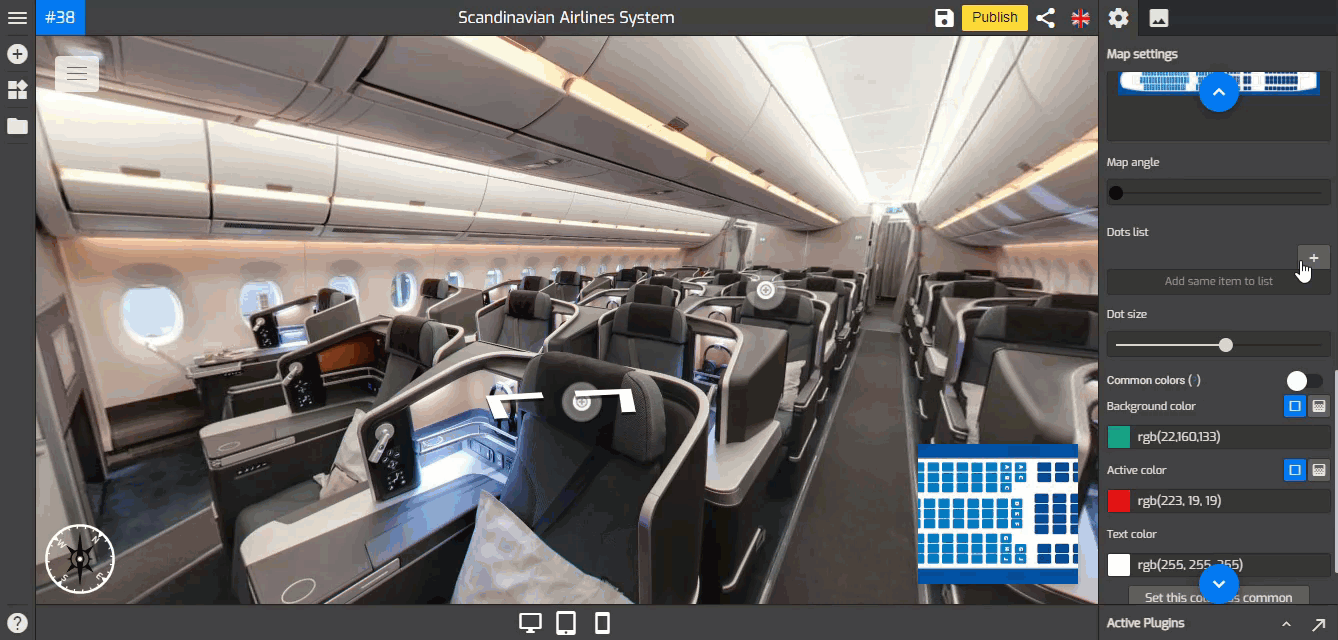
6. Overlay will add the red dot or marker of the active panorama to the map but the position of the dot does not automatically follow the map image so you have to adjust it manually.

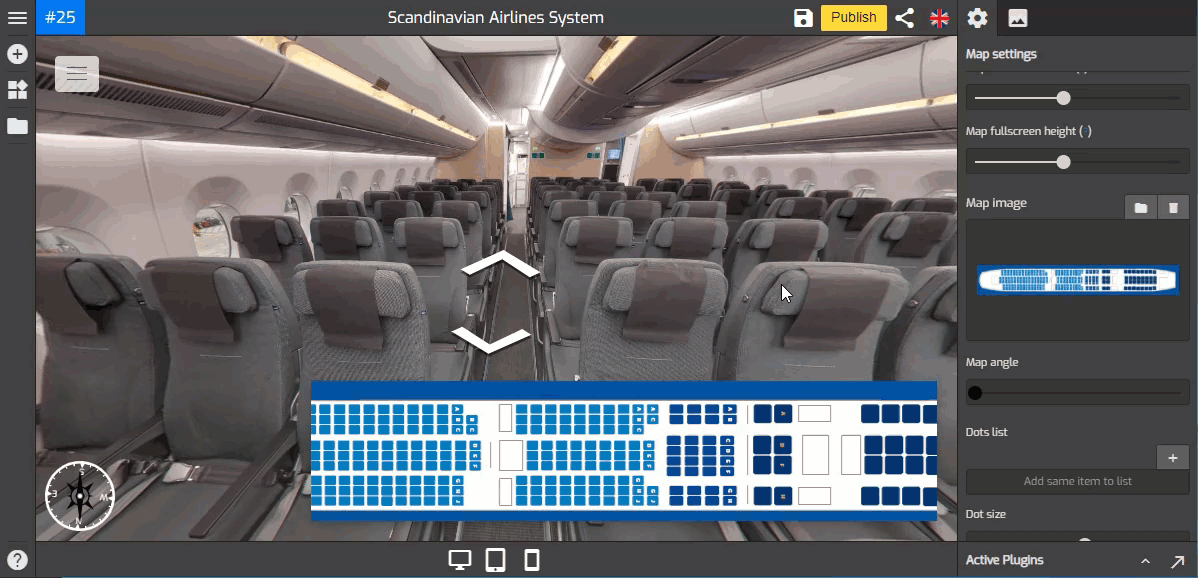
7. To adjust the dot position, you can drag it around the map then place it to its right position like in the following example.

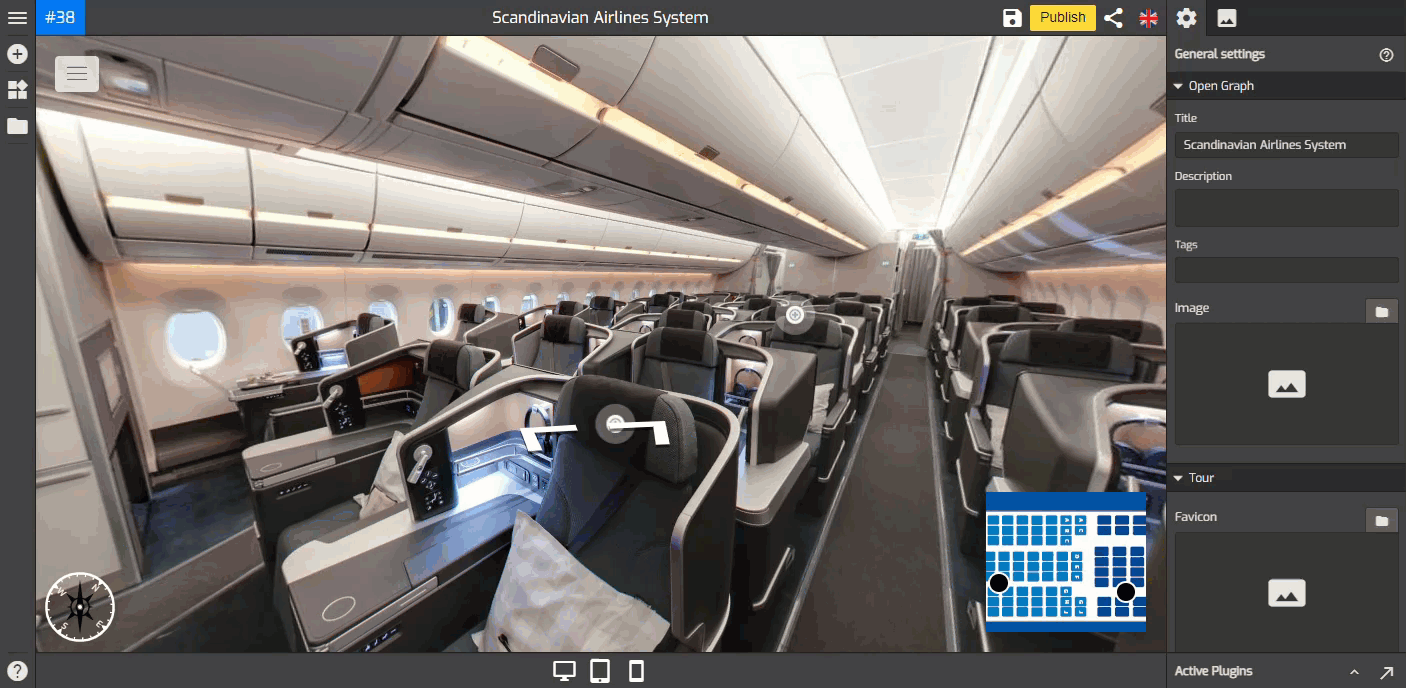
8. You can repeat the steps above to connect more panoramas to the map.
9. To make sure that the panoramas already connected, you can try to click on the map markers or dots. If it works the marker will bring you to the linked panorama on the tour.
10. Once you are happy with the map, just click save and publish to see the results.