How To Give Different Color Styles To Your Floor Map
This tutorial will be looking at how to change the colors of the map in the Floor Map plugin. You can customize the colors using the tools under the map settings such as background colors, dots, or active markers.
To perform this operation, you can follow the following steps.
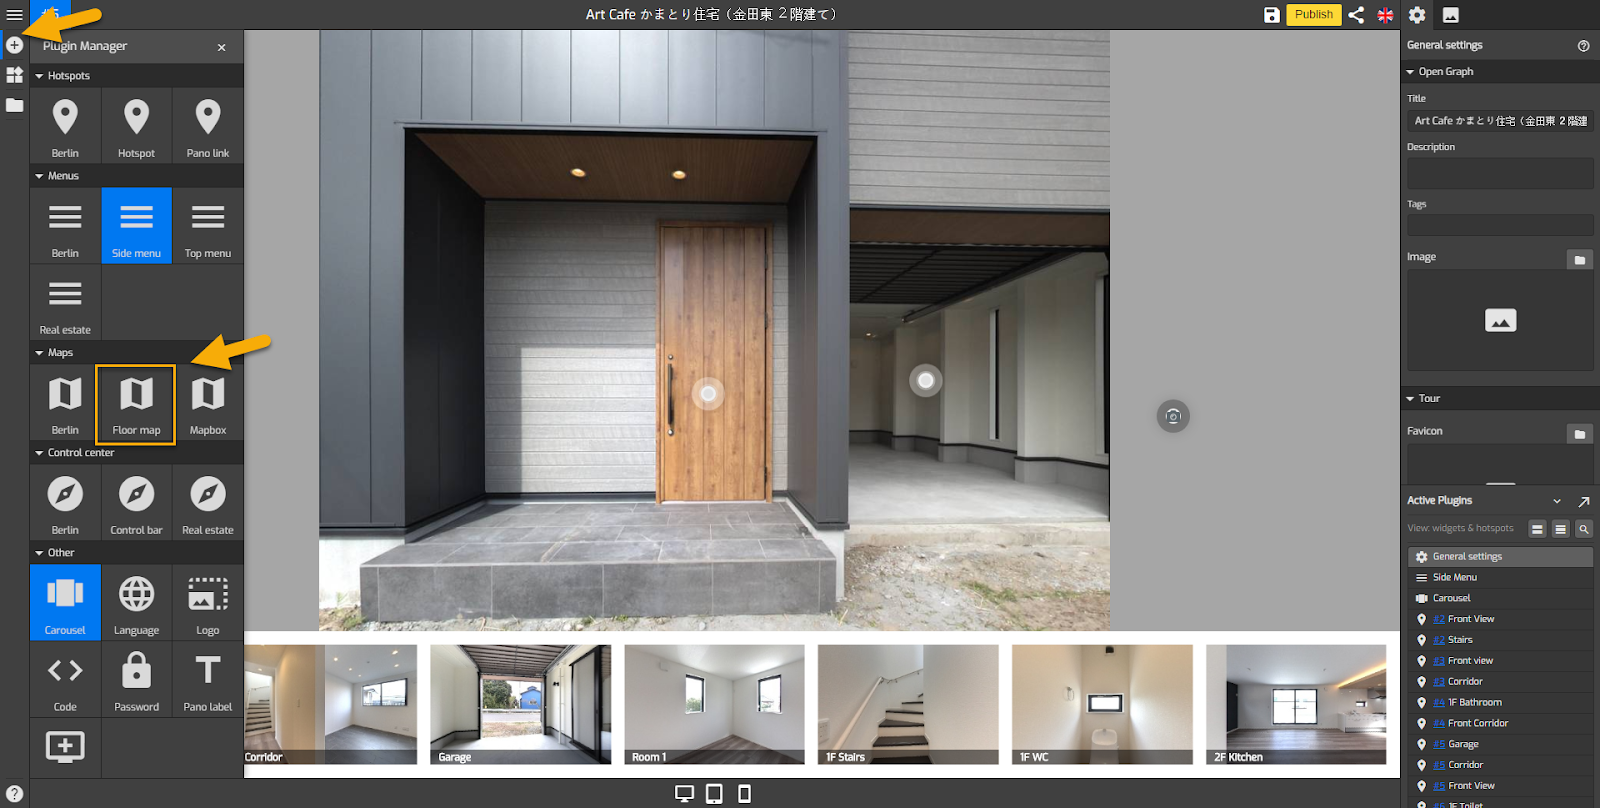
1. Click on the “+” button to open the Plugin Manager for Hotspots, Menus, Maps, Control Center, and Other. Select Floor Map.
2. Go to Map Settings or via Active Plugin (Active Plugins > Floor Map).
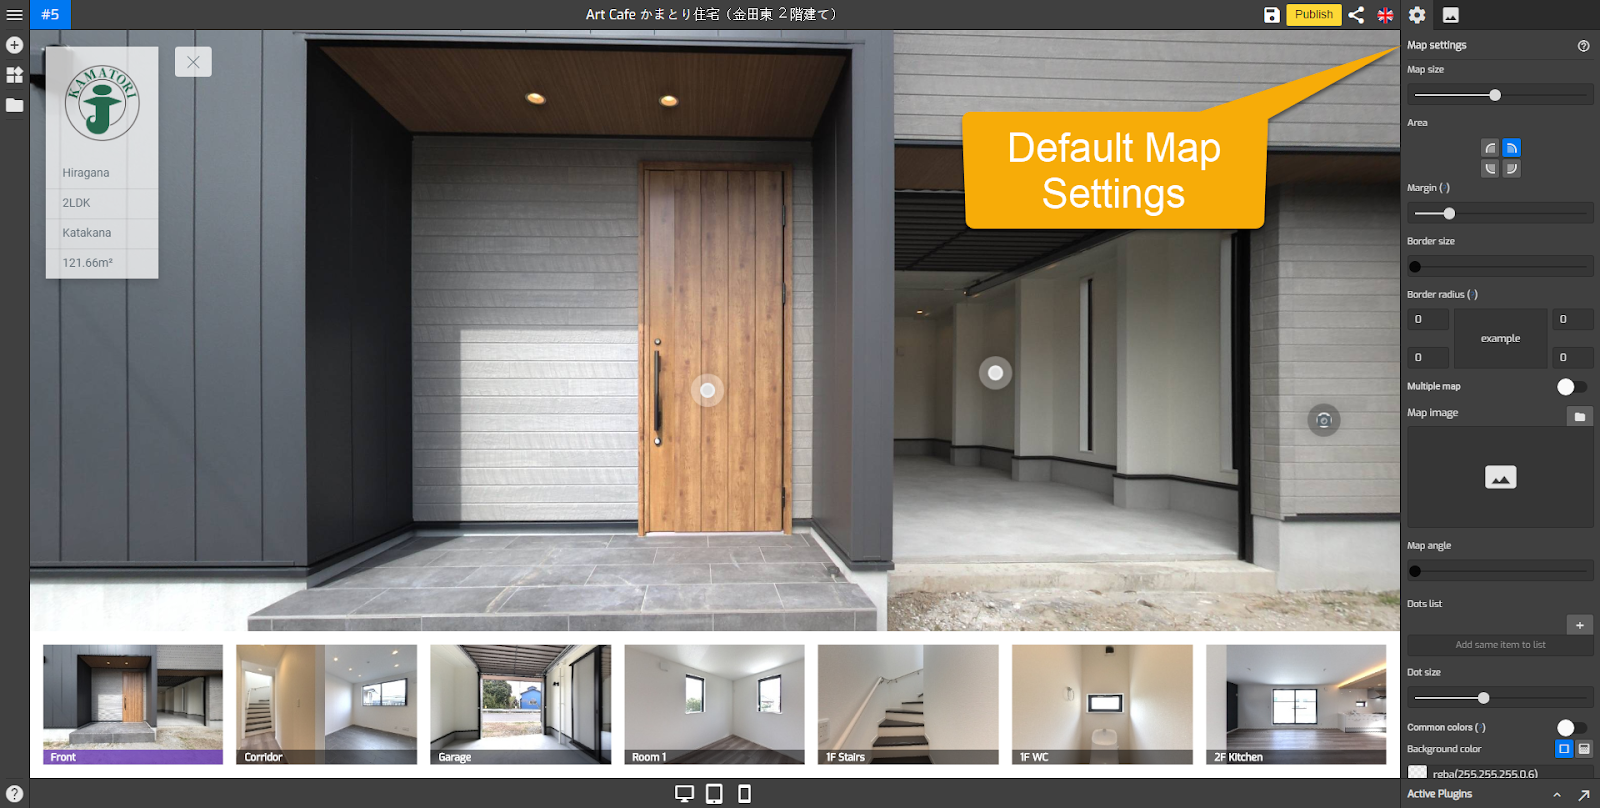
You can start working on the color settings, after you have inserted the map image and markers. See article about How to Work with Floor Map Plugin to learn how to add map image and marker.
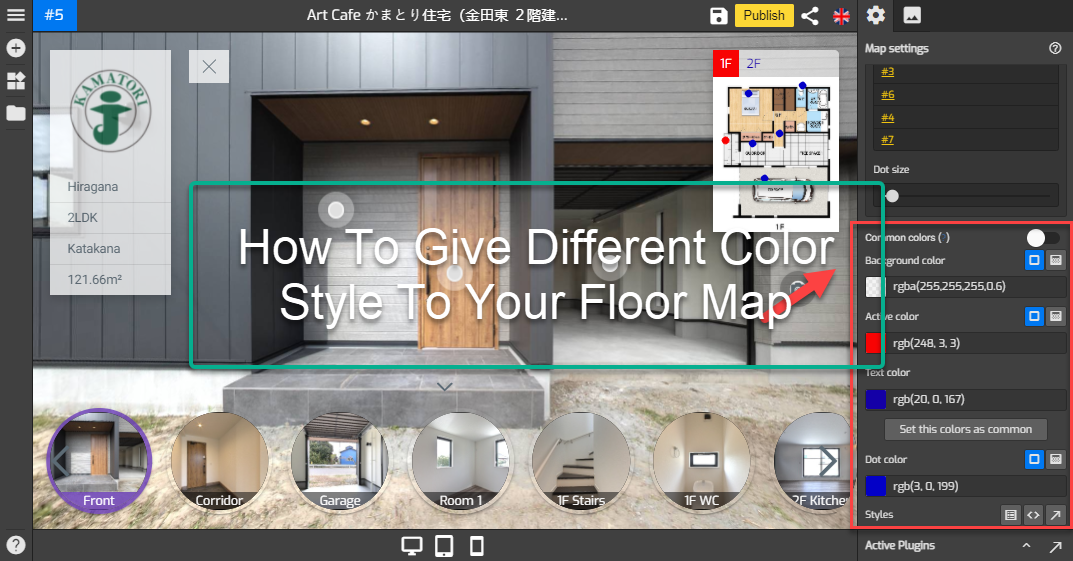
3. If you want to change the color of the map, you can navigate to the color settings at the lower part.
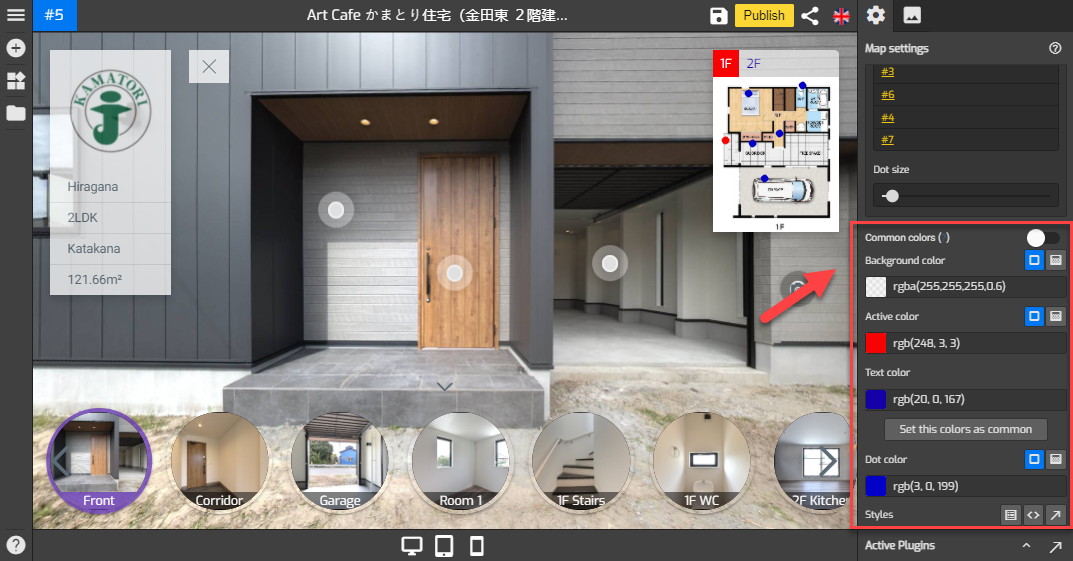
4. On the color section, you can change the background colors, active colors, text colors, dot color, and set the colors as common.
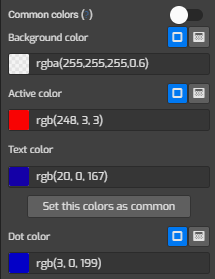
5. Firstly, you can set the map colors to connect the colors in the general setting using the common color option. It will duplicate the colors you set in the general setting. Switch on the Toggle of Common color to apply general setting color sets to the map.

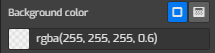
6. To change the color of the map background, you can click the background color to open its color picker and select the colors that fit your tour.
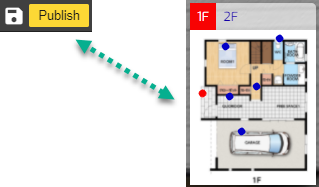
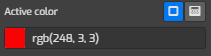
7. The active color can be used to change the color of the active marker or dot on the map.
8. The text color can be used to change the color of the button on the map.
9. The dot color changes the colors of the markers or dots on the map that works.
10. Set this color as common allows you to apply and save the color which belongs to the Floor map plugin and will become the default colors choices for other plugins including the general setting.

11. Finally, click “save” and “publish” to apply all the changes and see the results.