How To Import Panoramas From Dropbox

In this tutorial, you will learn how to import panoramas from Dropbox.
Step 1: Connect Your Dropbox account
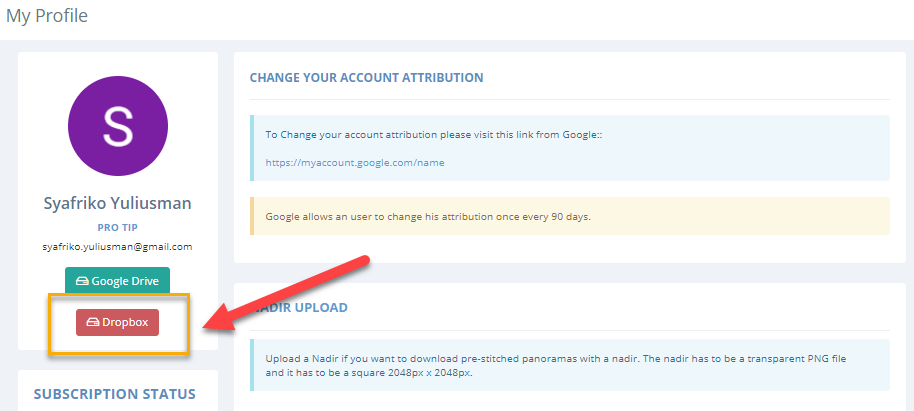
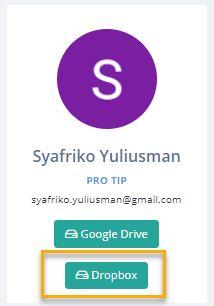
1. In Dashboard -> My Profile find Dropbox and press the button in order to connect your Dropbox account.
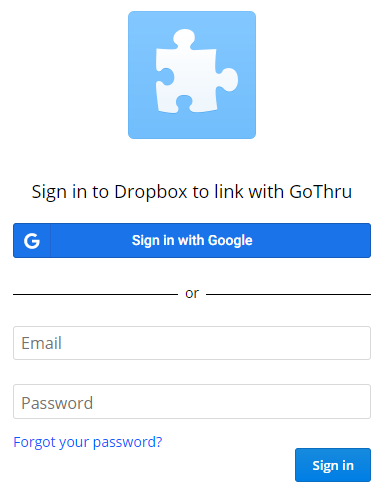
2. Sign in to your account.
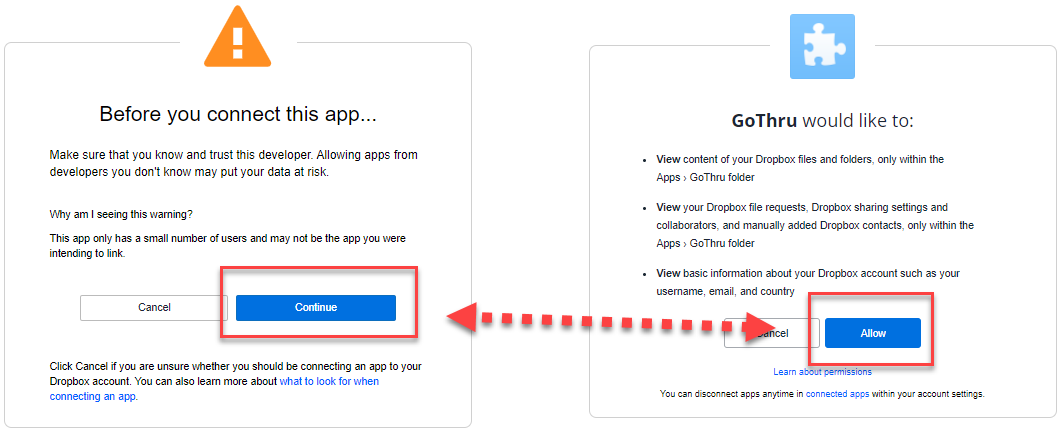
3. After signing in, press Continue > Allow to give GoThru permission to access your account and view content on your Dropbox.
4. Back in GoThru go to My Profile, you will see the Dropbox button turns green indicating that the account has been connected to GoThru and ready to be used.
Step 2: Create a GoThru folder
1. On your Dropbox, create a folder called GoThru. In this folder, create a sub-folder for your business.
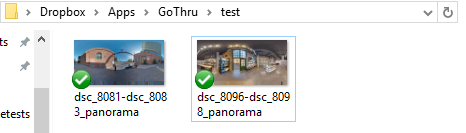
2. Upload the panoramas to the sub-folder.
Step 3: Create a New Tour
1. Go back to GoThru, click on the Constellation tab on the top bar.

2. Click +Create New Tour.

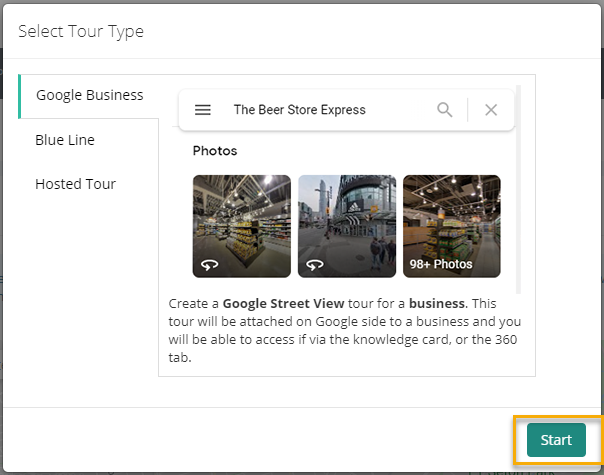
3. Select the tour type, Google business, Blue Line, or Hosted tour and click start.
4. Enter a location or the CID and click search to find it.

5. Once you find it, click Create New Tour then follow the next steps.

Note: For detailed information regarding tour creation, please check the other GoThru tutorials.
Step 4: Import Panoramas
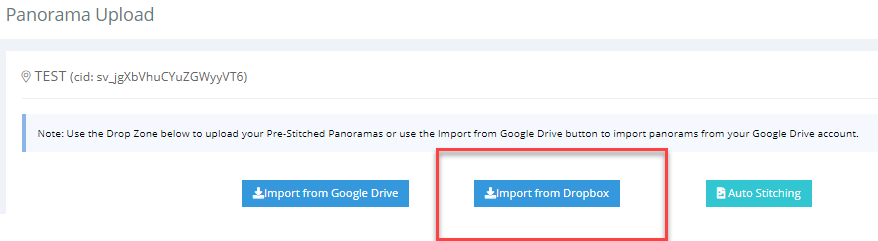
1. Click Upload panorama

2. Press the Import from Dropbox button.
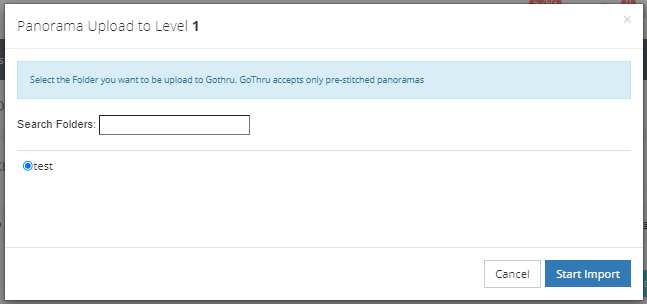
3. In the Search pop up, type the name of your folder, the one containing the images for your business. Once you find the folder press the Start Import button.
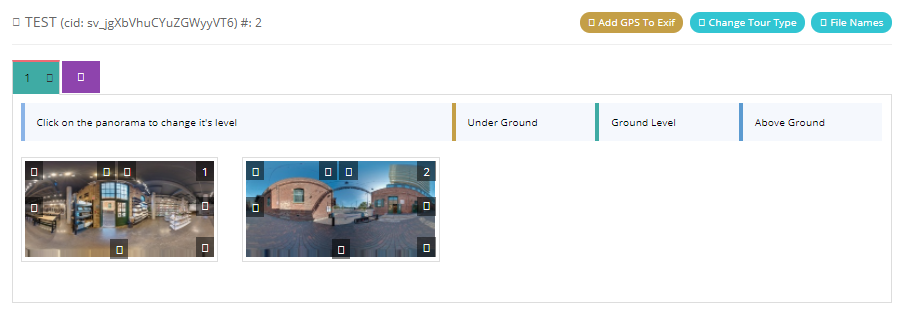
4. Go back to constellations, open the tour and you will see your imported panoramas on the map.
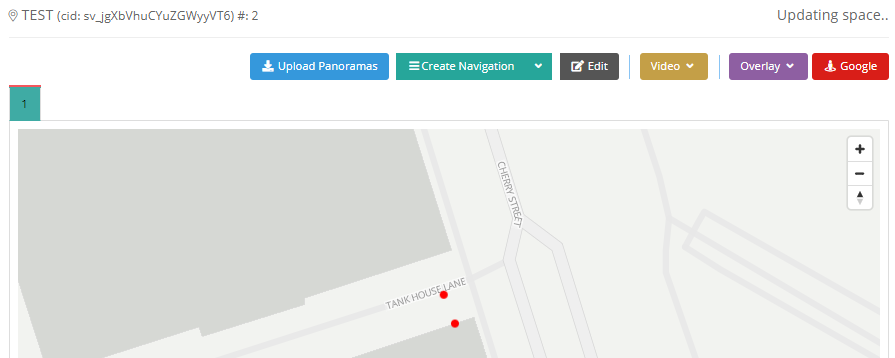
5. GoThru automatically imported all the panoramas from the specified Dropbox folder and also patched all the nadirs for all the panoramas.