How To Link Next and Previous Panos Using Link-pano Hotspot
Link-pano allows you to join the previous and next panoramas in one tour using a hotspot so at the end your tour visitors can easily move from one area to another only by clicking the hotspot.
This tutorial will go over how to use the link-pano content type to connect the next and previous panos. Please follow the steps below.
Method 1: Using the hotspot settings
1. Click the “+” button (A key) on the plug-in manager on the top left corner of your Overlay editor screen and select hotspot.
2. You will find a white marker (default hotspot marker) that appears exactly in the middle of the active panorama. Click and drag the marker to adjust the position of the hotspot.

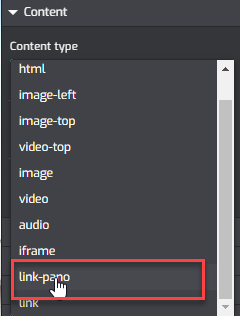
3. Add content to the hotspot by clicking on the content type then select link-pano.
4. Select the pano you want to connect with and set the angle as well. Click anywhere on the active pano to apply the changes.
5. Now you have a responsive link-pano hotspot in your tour. Try to click it to make sure the pano connects to the right pano.
Method 2: Using drag & drop
The overlay editor also supports drag and drop pano to add the link-pano hotspot within your tour.
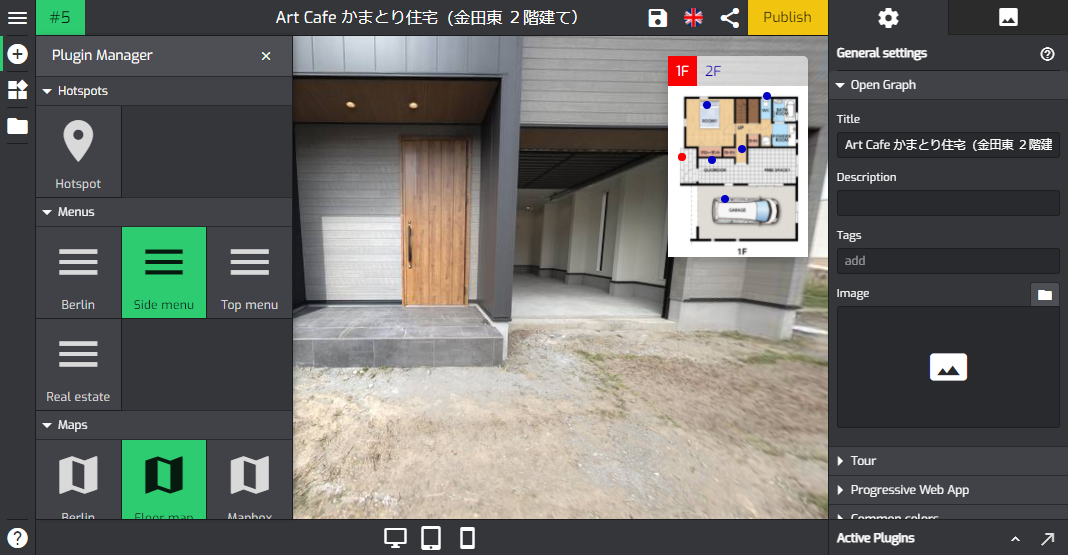
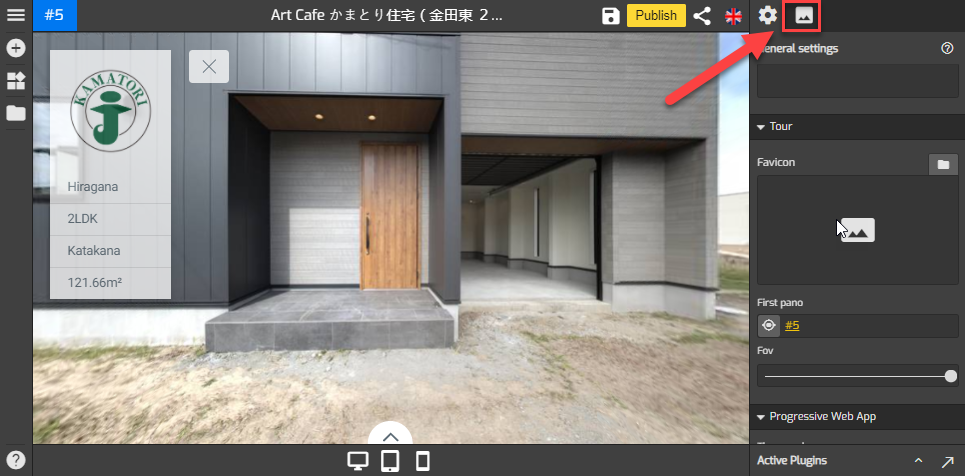
1. Click on the Pano list button on the top-right corner of your overlay screen.
2. Under the map box, you see the list of all panoramas in the constellation where you can select or switch panoramas. If you have a multi-level constellation, panorama from different levels is also put there.
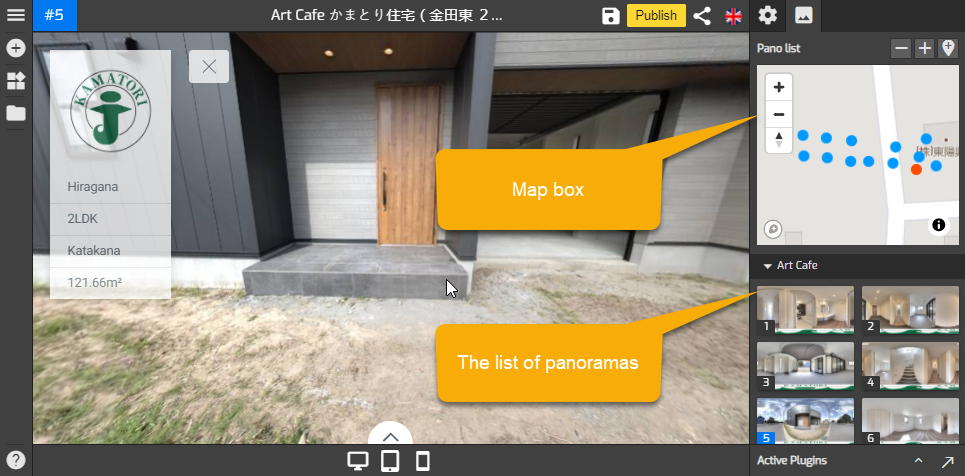
3. Select and drag a specific pano from the pano list to the active pano.

4. Now the link-pano is ready. Try to click on it to see if the pano and hotspot are properly connected.
Note that the hotspot marker and other hotspot attributes can be changed using the tools under the hotspot settings.