How to Organize Tours in GoThru
In this tutorial you are going to explore the Organize feature in GoThru, where you can create folders to keep tours organized. With this feature, you can select tours you want to show in the Constellation Manager and easily switch back to All tours.
The following is the details on how to create folders and move tours in GoThru.
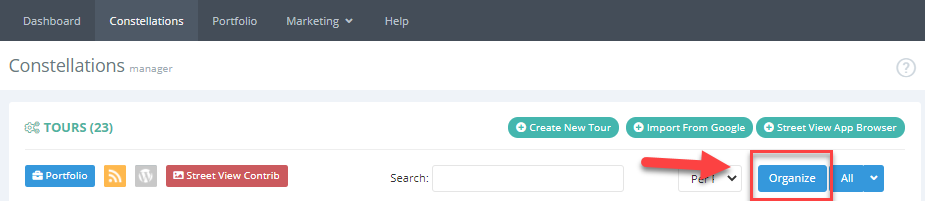
1. Go to the Constellations Manager then press the Organize button.
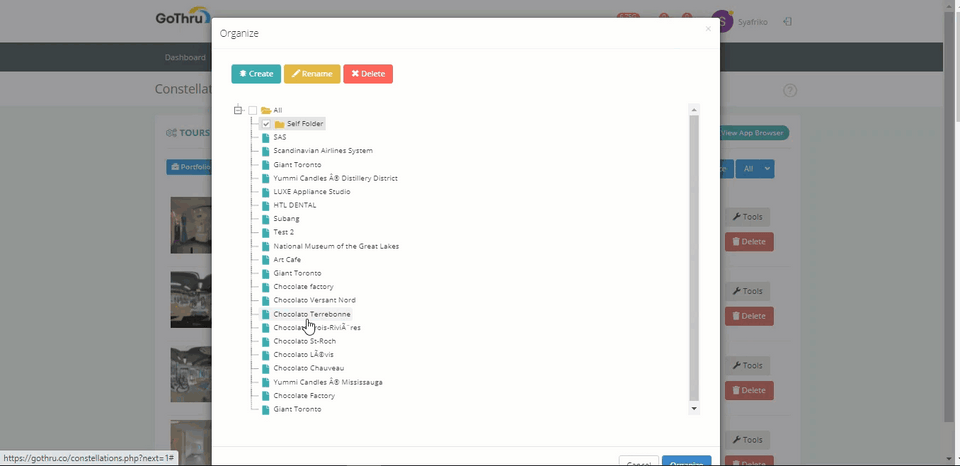
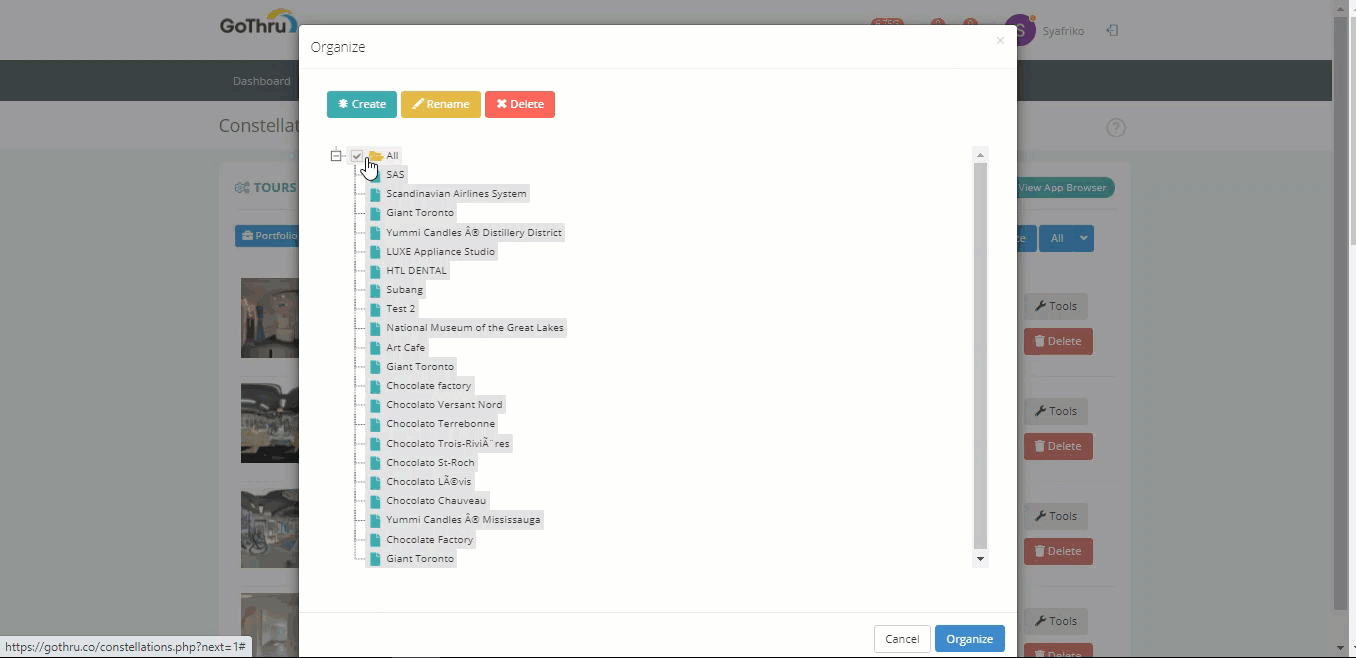
2. It will open up the Organize window where you can perform the organizing process.
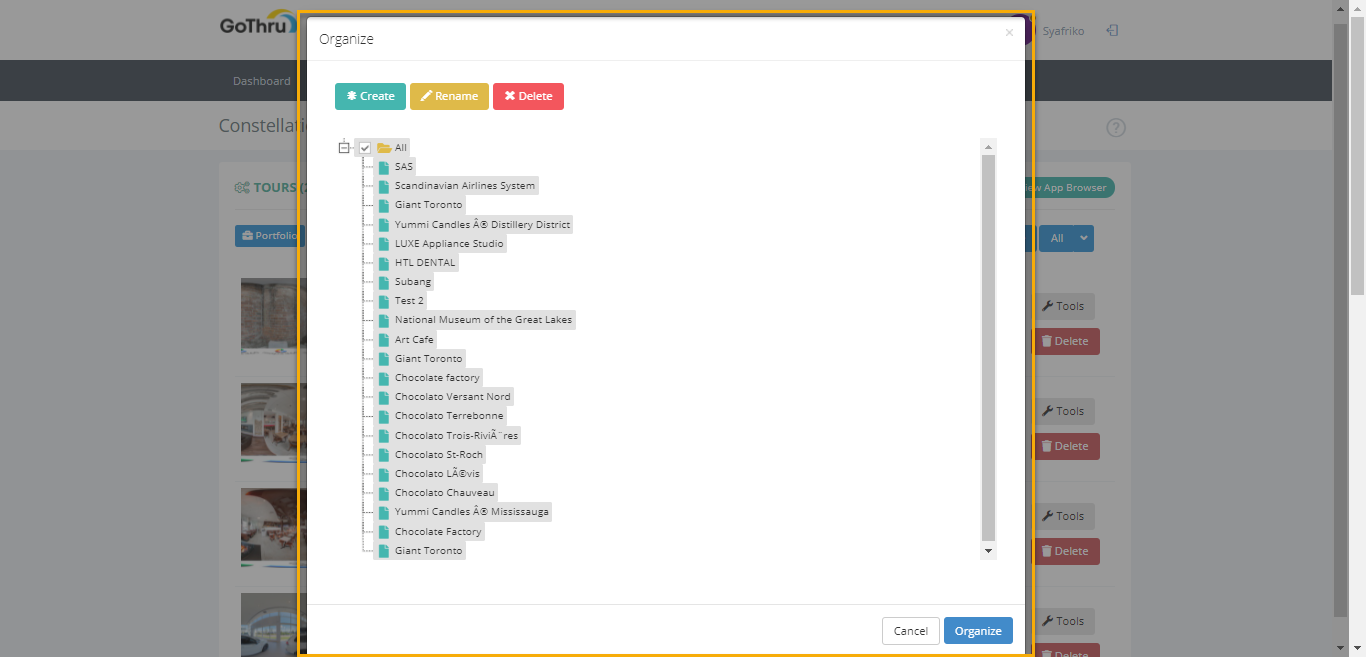
3. You notice three buttons - Create, Rename and Delete. Create button is used to add up a new folder, Rename to change the name of the folder, and Delete button to remove the folder.

4. Before you create a new folder, you need to deselect the tours. Click All to deselect.
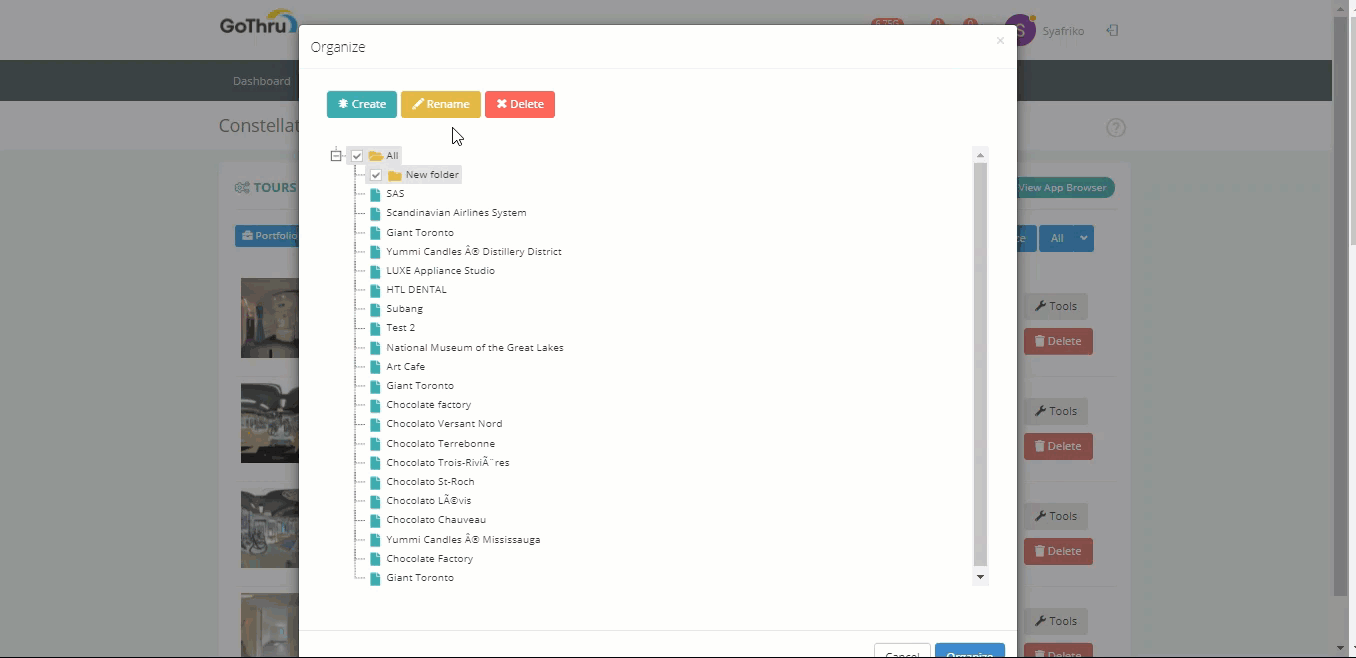
5. Click Create to add a new folder. You will notice the new folder added with default name `new folder`.
6. Now you can rename the folder. Press Rename and enter a new name for your folder.
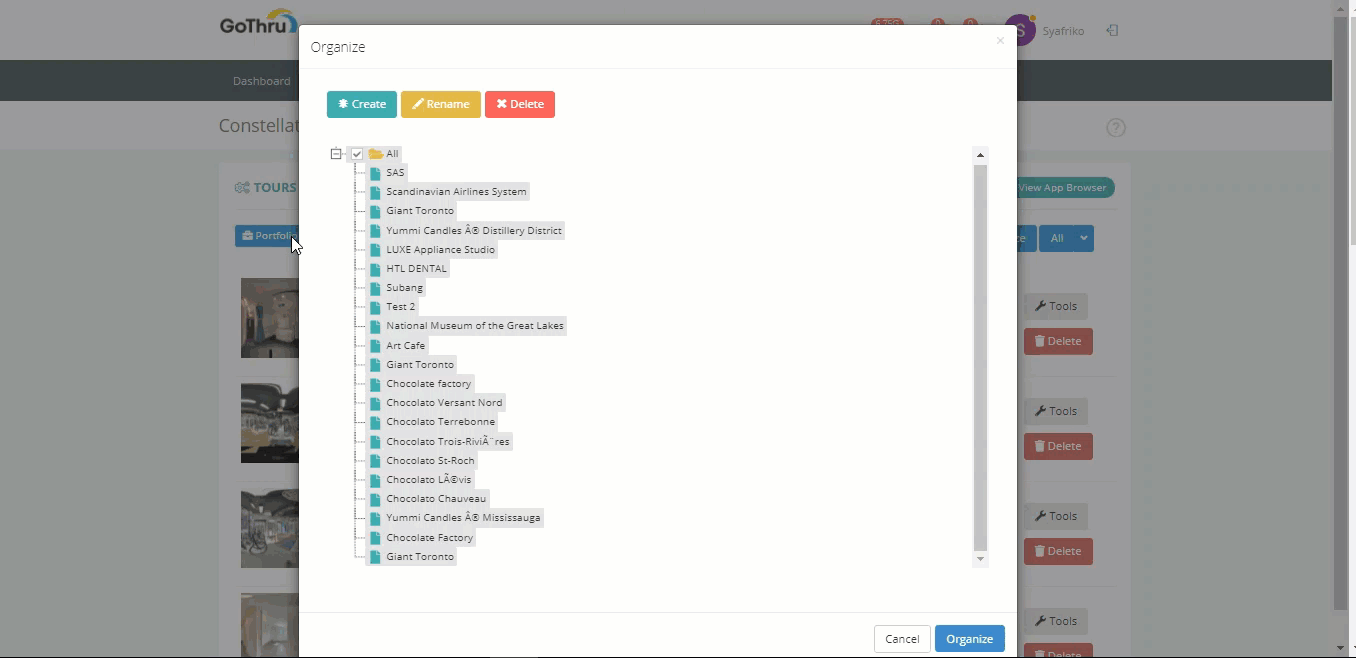
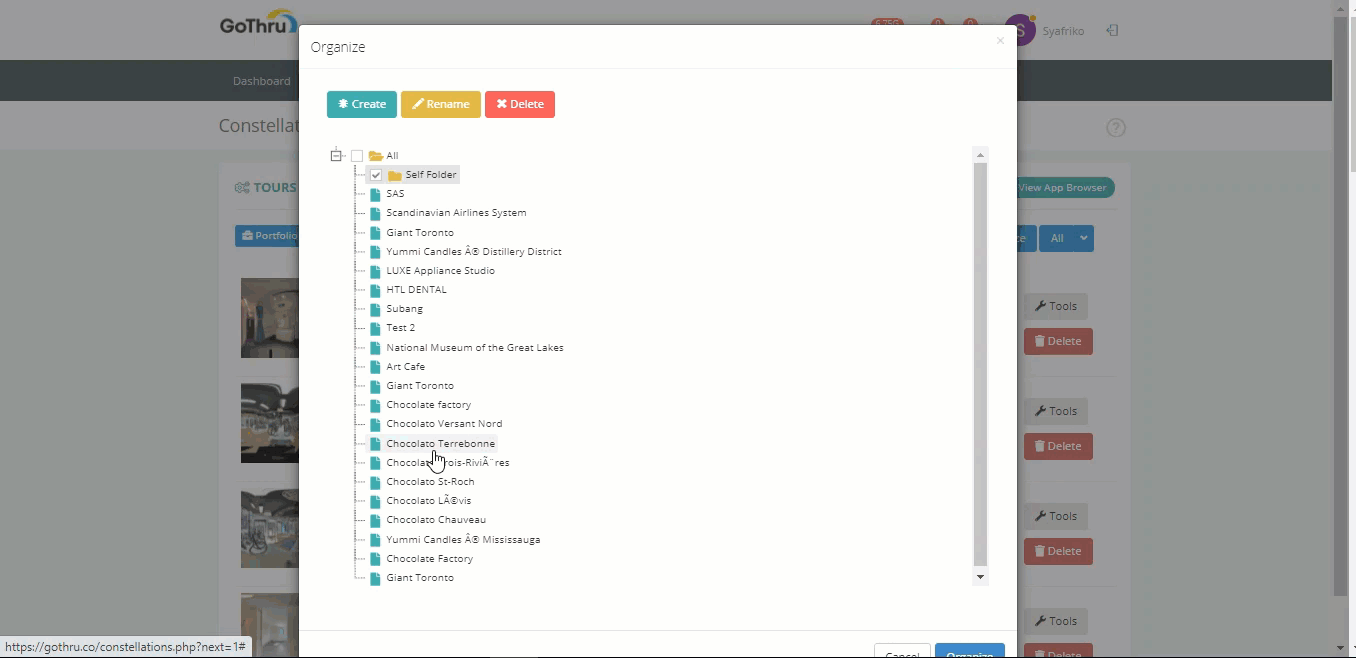
7. Move tours to the new folder. You can just drag and drop them, as shown below.

8. Once the folder is created, renamed and filled with the selected tours, press Organize to apply the changes.

9. The new organized folder will appear in Constellation Manager with the tours you just moved to the folder.

10. If you want to switch folders, you can click All to view all tours and click Organize to switch back to ‘Self Storage`.
That's it! Keeping tours organized is an essential part of being productive.