How To Resize 360 Images With Gothru
GoThru allows you to resize the width and the height of a panorama, min to 5300x2650 and max up to 13200x6600 using the Resize Pano tool. This procedure is necessary if the images have a low resolution, like 5000x2500, and they are unable to be uploaded to Google since the photos must be 5300px width by 2650px height or larger, with 2:1 image aspect ratio.
The following are the steps on how to resize 360 images with GoThru.
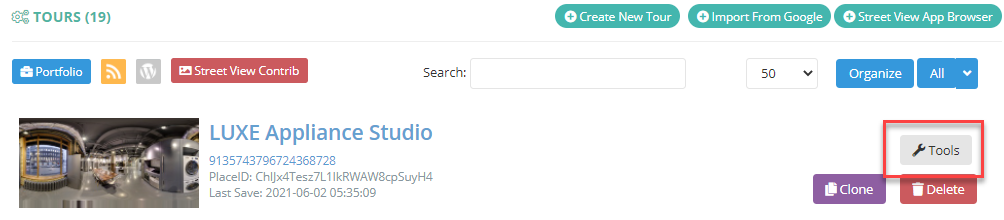
1. Click on the Constellation tab on the top bar.

2. Press the Tools button over the tour.
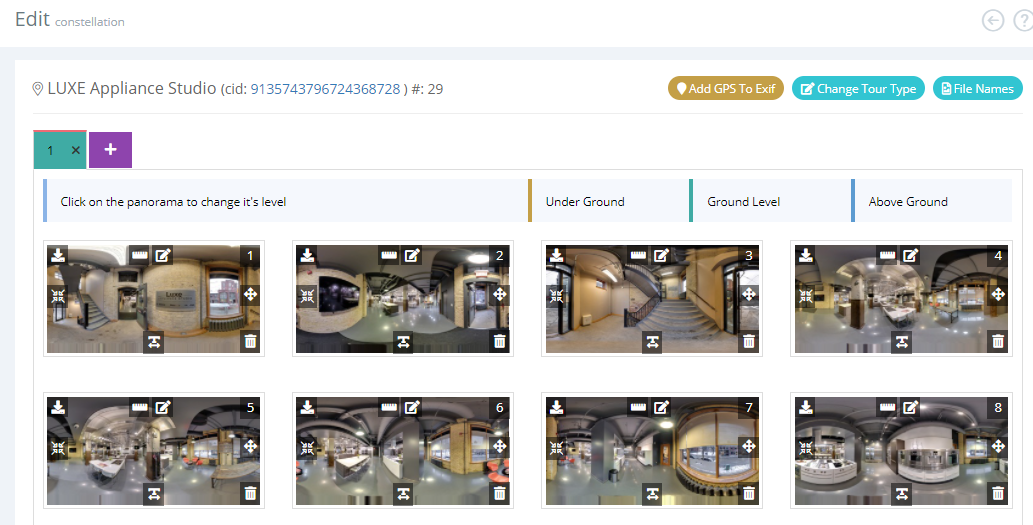
3. In the Tools page, press the Edit button.

4. GoThru will take you to the Edit Constellation section where you can select the panorama you wish to resize, center, straighten, and so on.
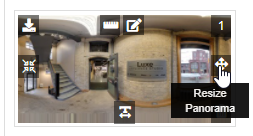
5. To resize a panorama, you can click on the Cross Arrow button over the panorama.
6. Enter the desired width min to 5300px and max up to 13200 px and the height 2650 - 6600px. Press Resize.
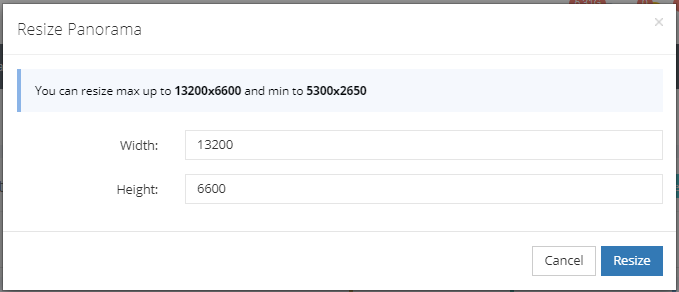
7. Shortly GoThru will resize the selected panorama.

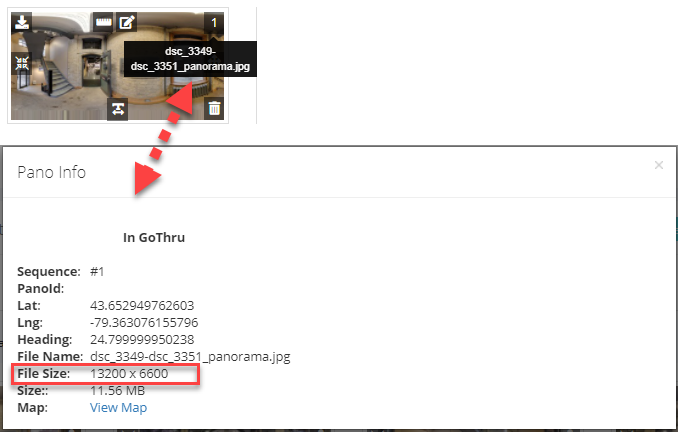
8. To see the result, click on the Pano number to open up the pano info. You will notice now the size of the panorama has changed.
Resizing multiple 360 images
1. GoThru also lets you resize multiple panoramas at once. To do so, you just need to select the panoramas you want to resize as shown in the example below.
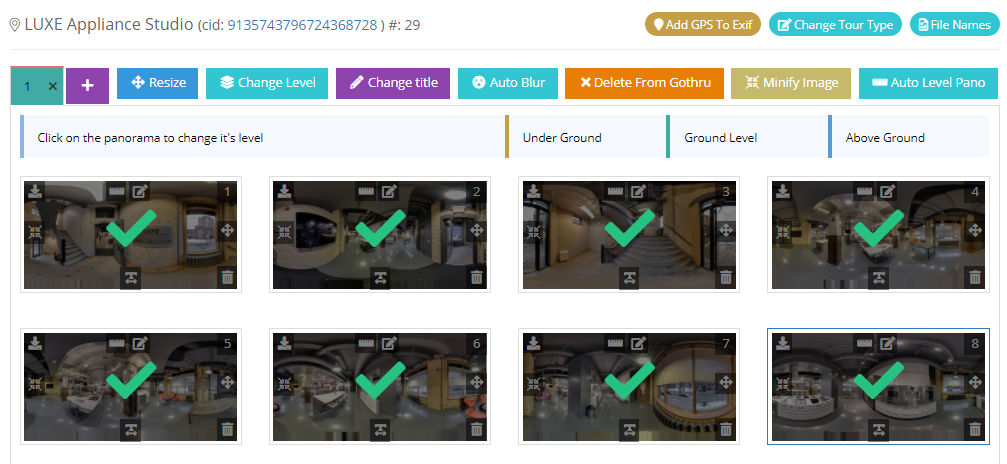
2. After the panoramas are selected, the Resize button will show up in blue. Click on it.

3. Enter the desired width and Height. Click Resize.
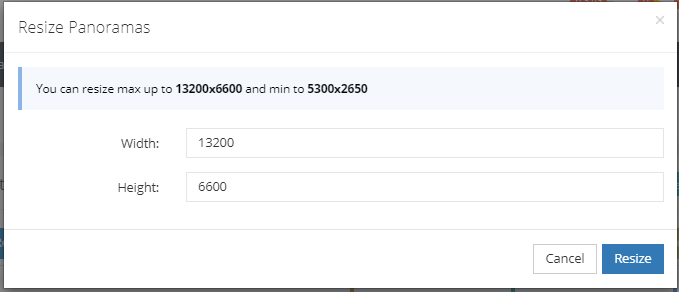
4. Finally GoThru will apply the changes to all selected panoramas.

5. To see the result, access the pano info by clicking on the Pano number of each panorama. You'll notice that the panoramas` size have adjusted.
Simple is that! Now the 360 images are ready to be used and published on Google Street View.