How to work with the Pancake Navigation Plugin
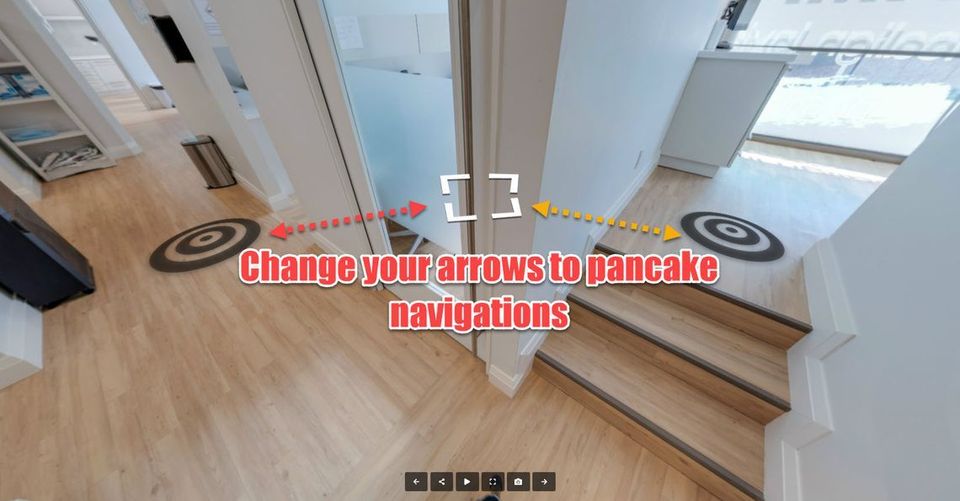
Get ready to learn the Pancake Navigation plugin! This powerful tool is going to change the way you navigate your tour and give your users an unbeatable experience.
Let's dive in!
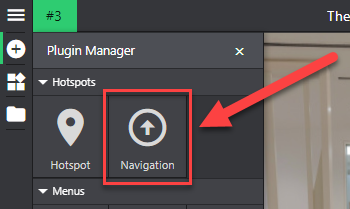
1. Click on the “+” icon (A key) to open the Plugin Manager then select Navigation.
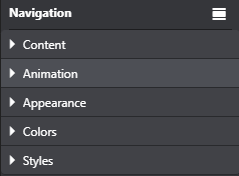
2. The plugin settings appear on the right panel and the pancake will appear after you add the links.
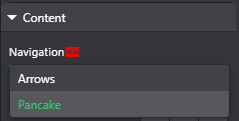
3. Under content section, select pancake from the navigation dropdown.
4. Navigate to the list section to add the pancakes. There are two options there, Add all links or Add active pano.
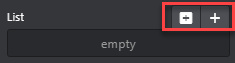
Add all links: will add the pancake to all the connected panos.
Add active pano: will add the pancake to only the selected panos.
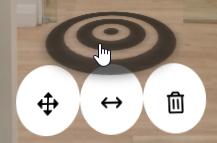
5. Once the links are added, you will see the pancakes added in the middle of the active pano and the default pancake is a vanilla circle.
6. You just need to hover over the pancake to scale or move it around as you you desired.
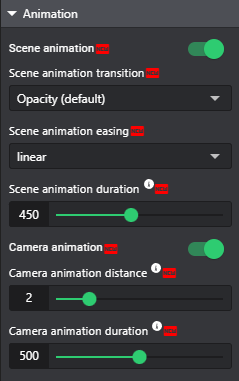
7. Now add an animation. Open up the animation section and select an animation that suits your tour best such as motion blur or the default fade transition.
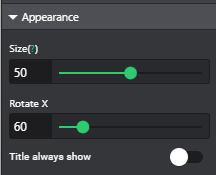
8. Modify the Appearance. Under the appearance section, you can change the pancake size, rotation as well as the title.
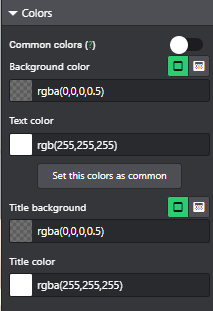
9. Adjust the Colors. Under the color section, you can change the background colors, active colors, text colors, title background, and title color.
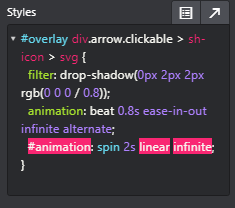
10. Styles at the lower part of the settings allow you to modify the plugin using CSS code.
11. Save and Publish. Once satisfied with the pancakes, save and publish then view the results.
