Overlay – Logo
Logo plugin allows you to upload a custom image to your overlay, which can be placed at eight different positions. It can be uploaded from Other > Logo, in the plugin manager.
Following are the steps to add a logo to your overlay:
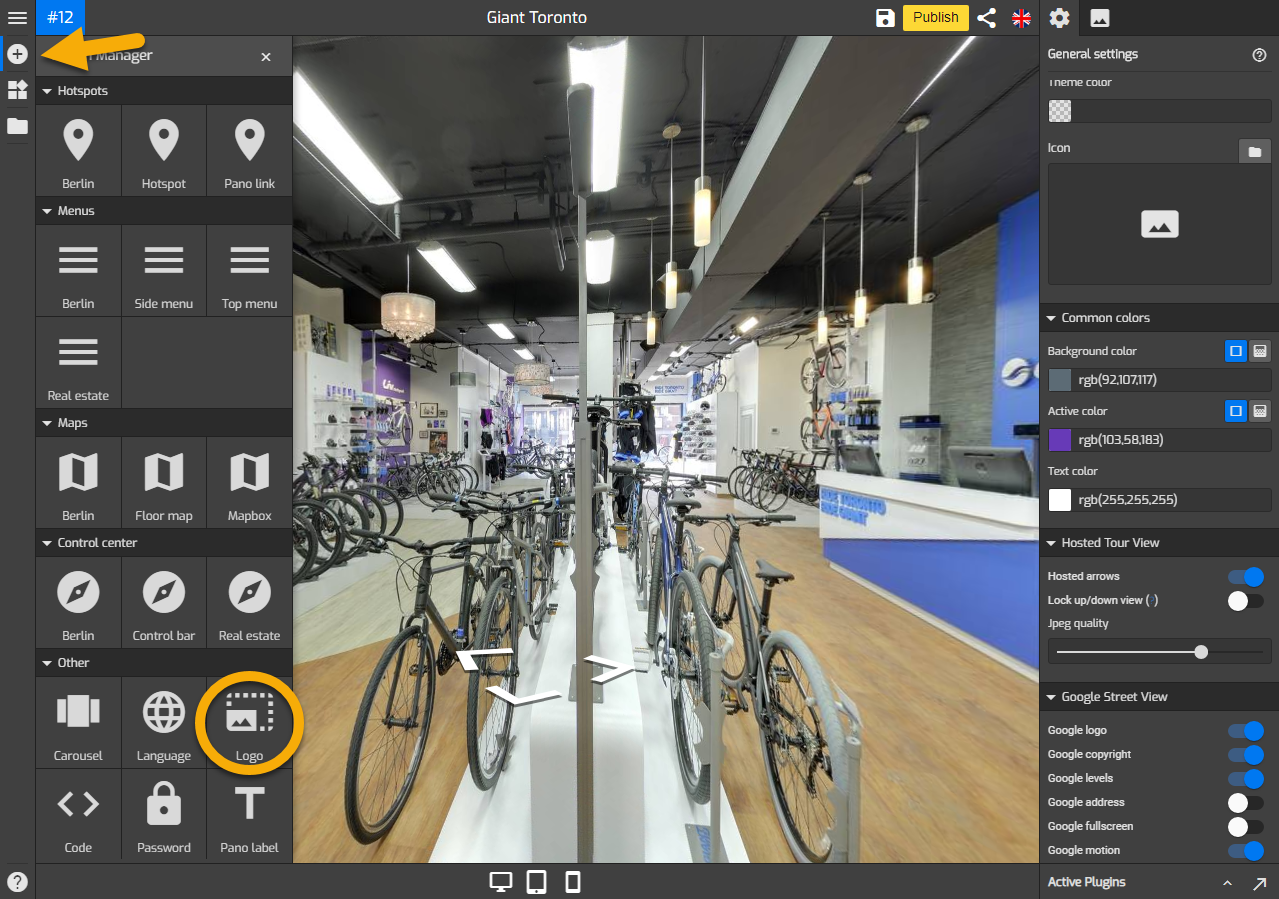
1. Click on the “+” icon (A key) to open the Plugin Manager for Hotspots, Menus, Maps, Control Center, and Other. Then click on Logo under the Other plugin option.
2. The logo settings appear on the right side of your overlay screen and make the desired changes.
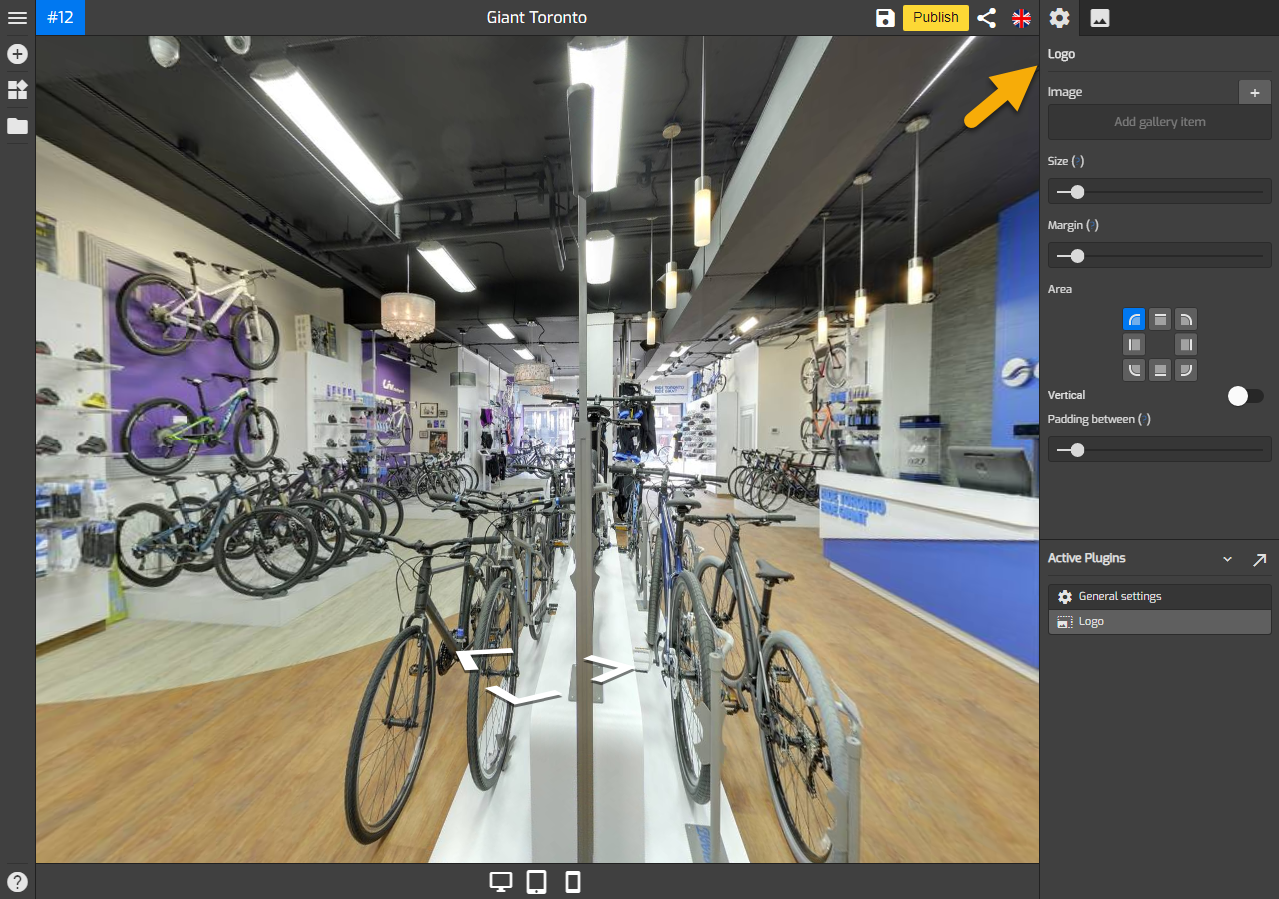
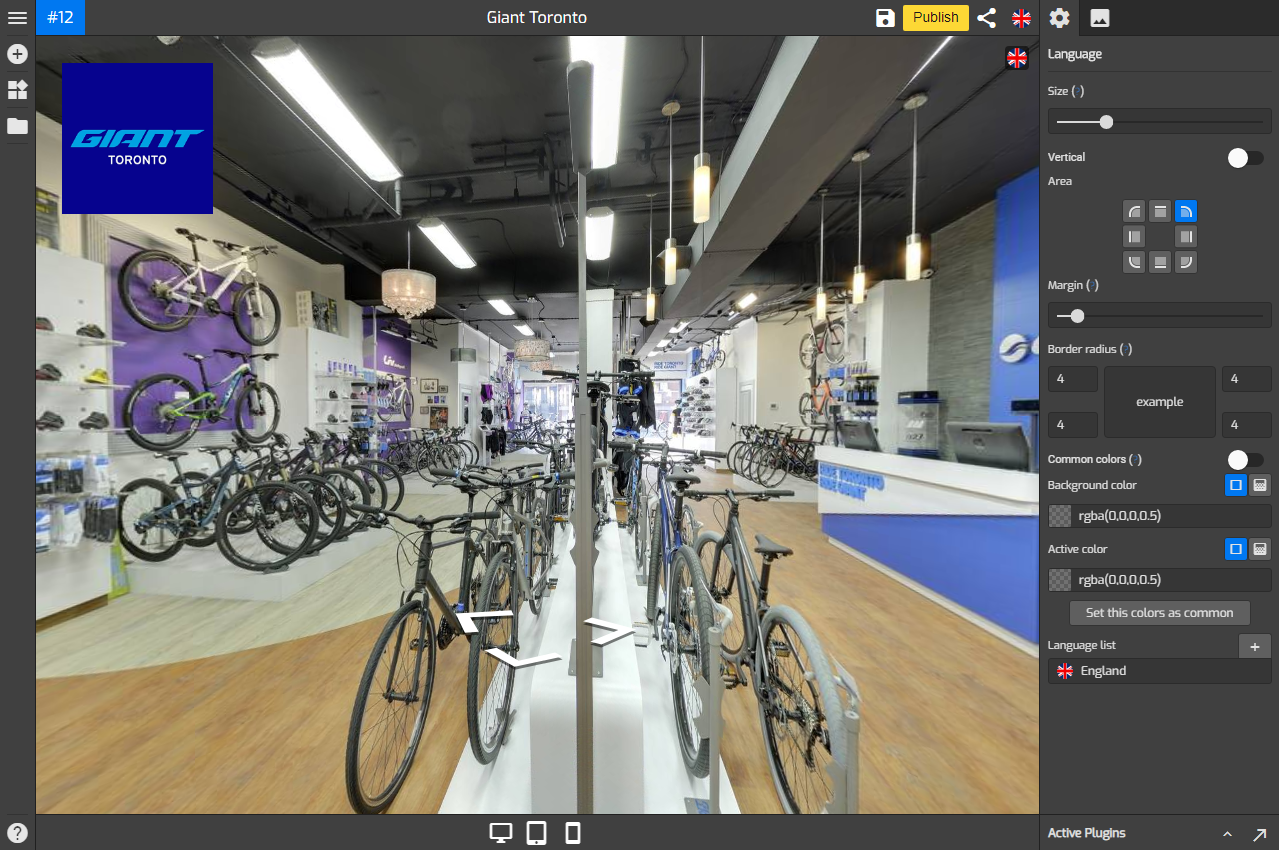
Following are the details of the tools on Logo setting.
Image: adds custom images/logos to the overlay.
Size: sets the size of the logo.
Margin: adjusts the distance between logo and the tour edges.
Area: changes the position where the logo is attached.
Vertical: sets the logo to vertical or horizontal.
Paddling between: adjusts the space between logos.
3. Click “+” on Image to open the Asset Manager.
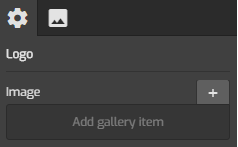
4. Upload a new image, or select one that’s already in your Asset Library.
5. Now you have a cool logo on your overlay. Once you are happy with your logo setting, just click “Save” and “Publish” to see the results.