Overlay – Side Menu
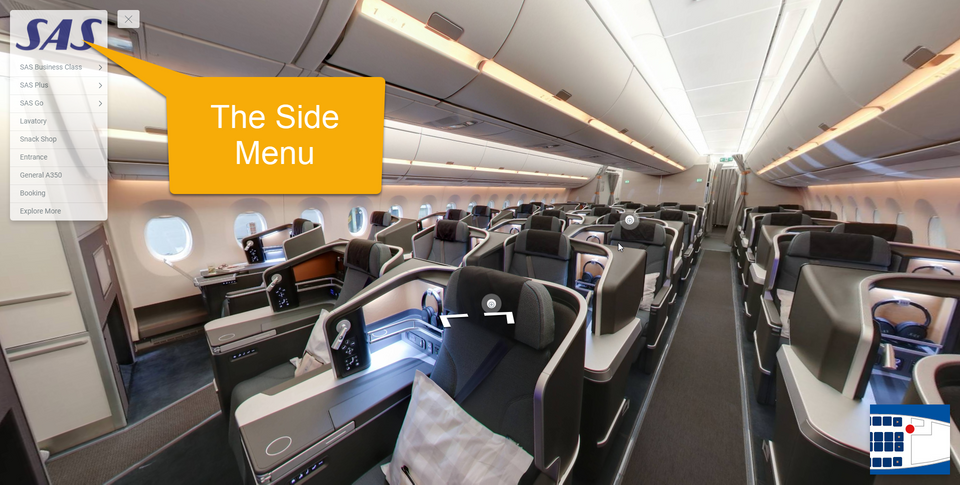
Side Menu is one of menu options in the GoThru overlay editor. The Side Menu allows you to showcase different areas of your venue and display this on a menu on your tour with direct links to those specific areas. This navigation option allows visitors to jump straight to wherever they want to go, encouraging them to stay longer on your tour and view features you particularly want them to see.
This article will explain:
- How to create a Side Menu?
- How to add items to the Menu List?
- How to add a sub-menu to the Menu List?
- How to Work with the Menu settings?
How to Create a Side Menu?
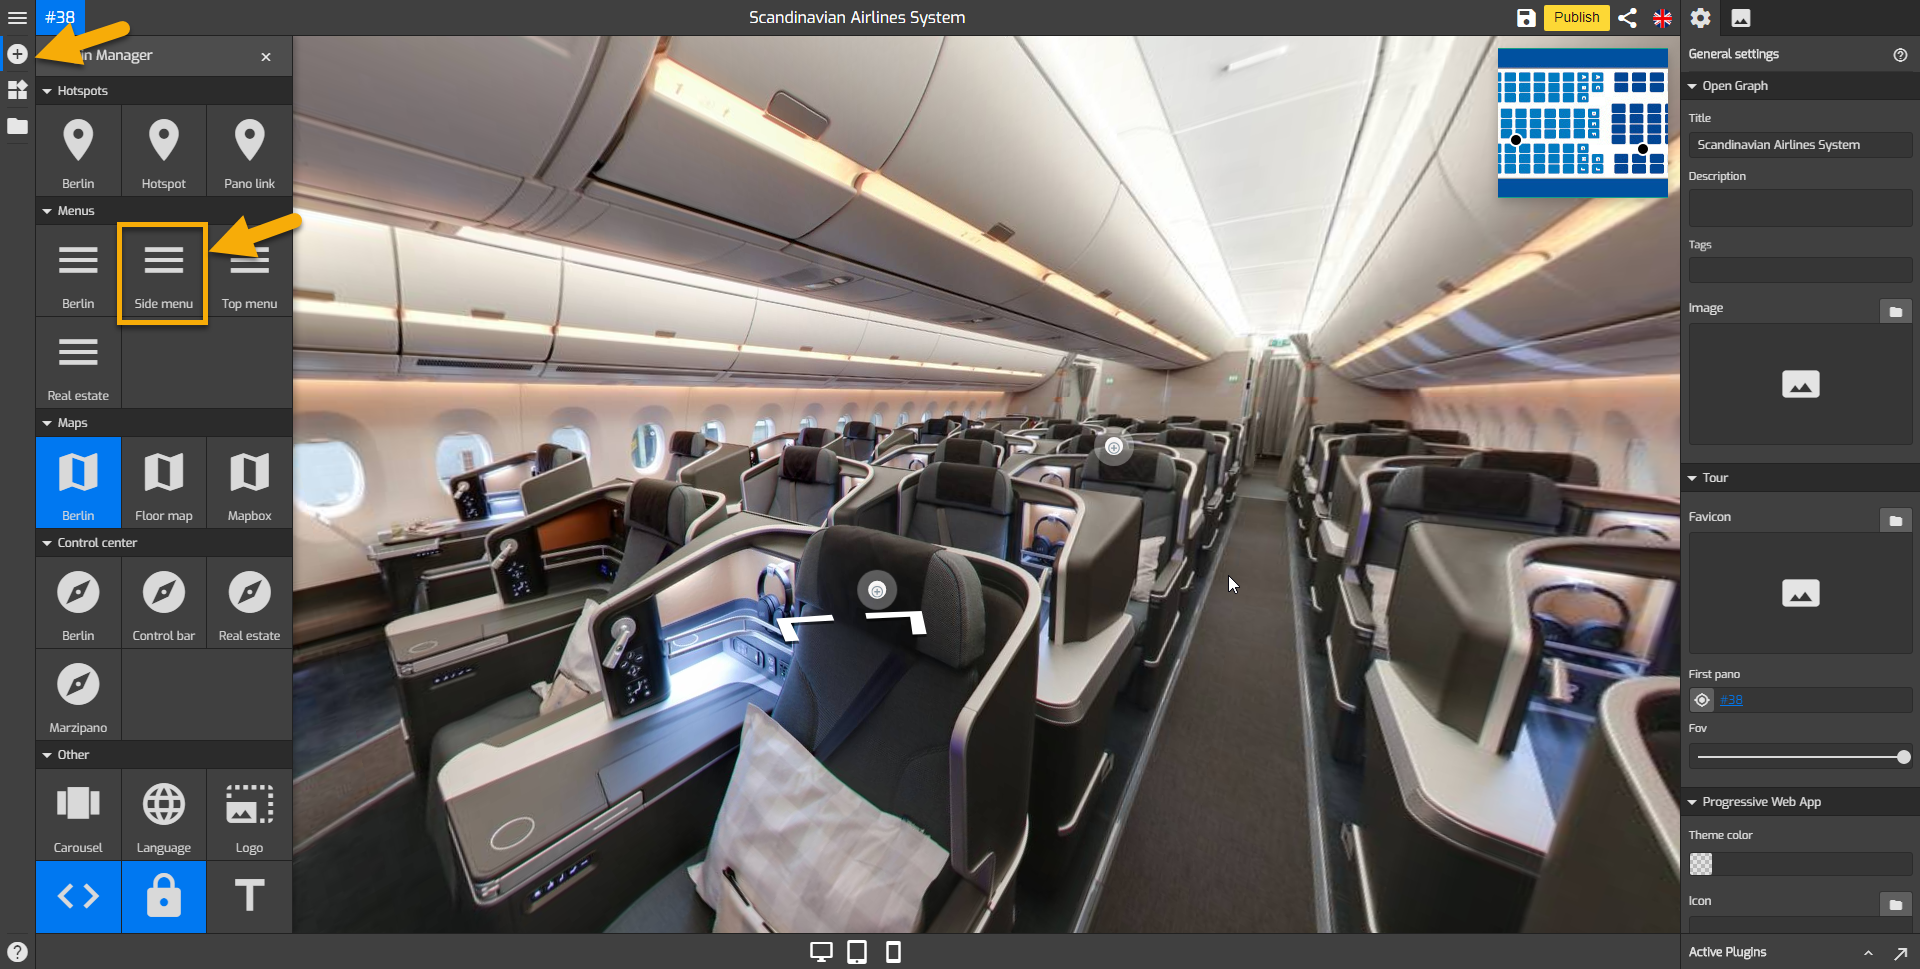
- For the first time working with the overlay editor, a menu selection will pop up on your screen in which you can choose a type of menu you want to use.

You can also select the type of menu from the plugin manager
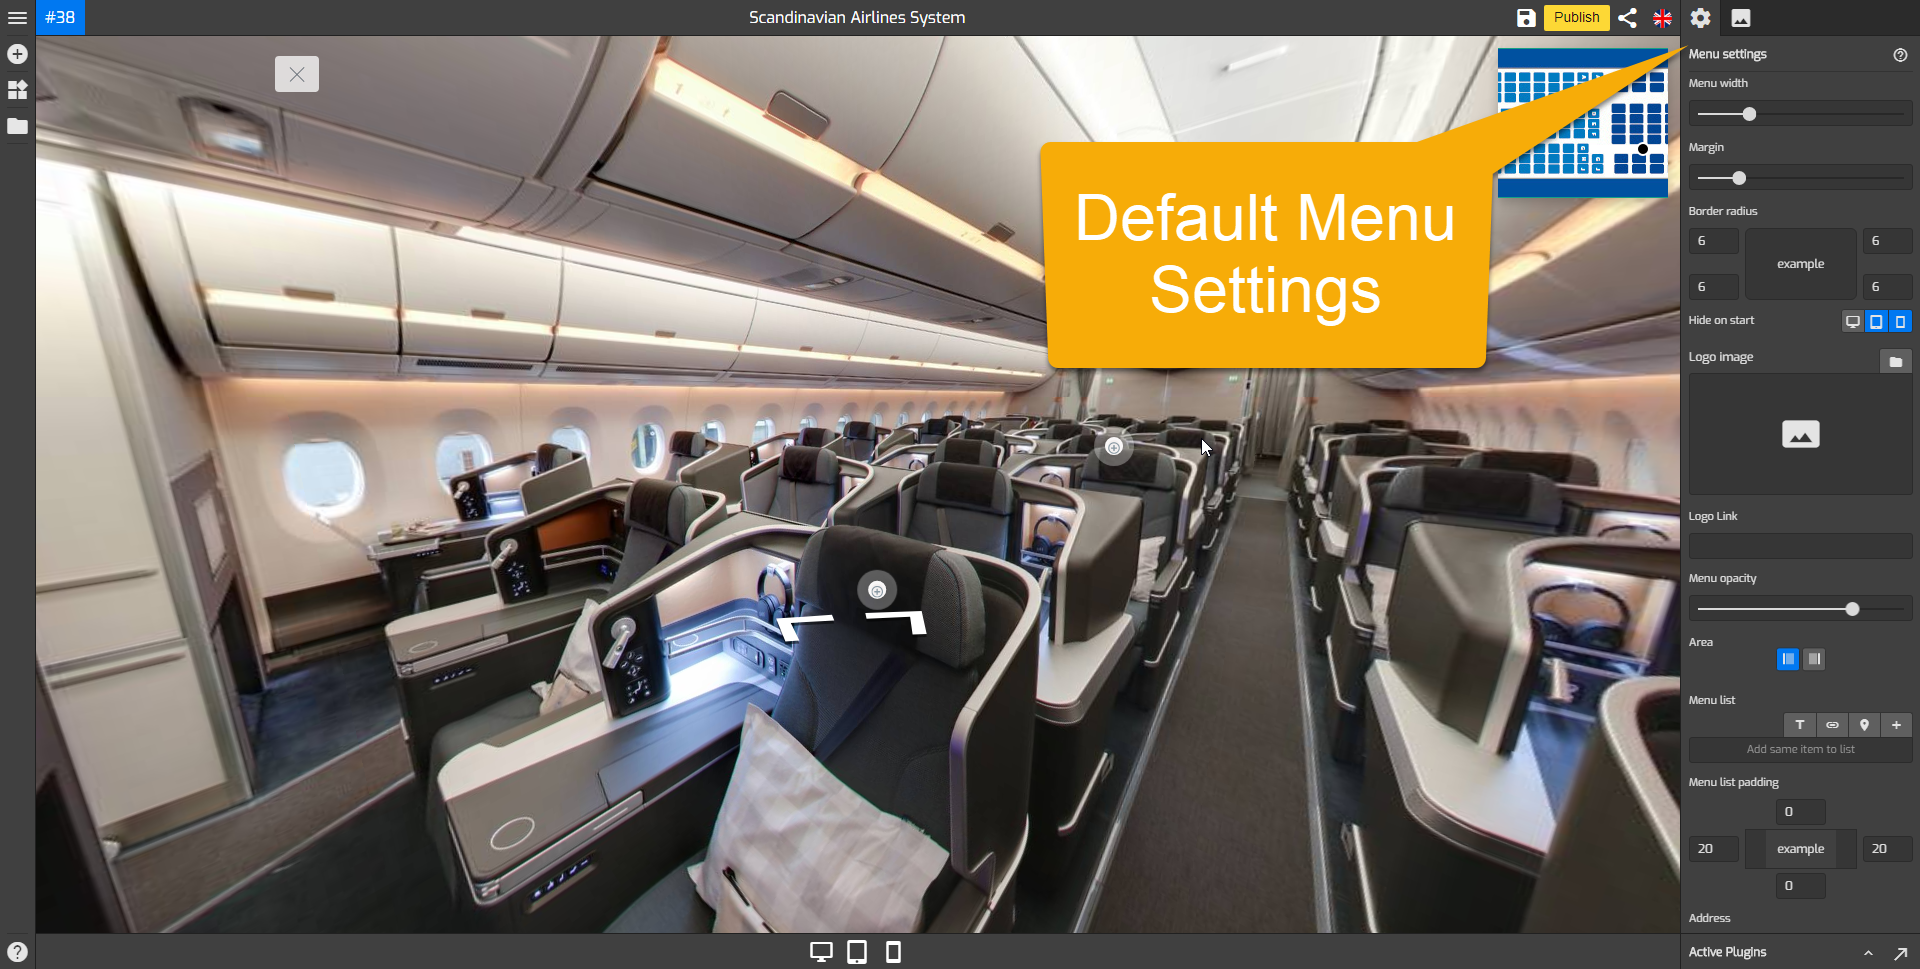
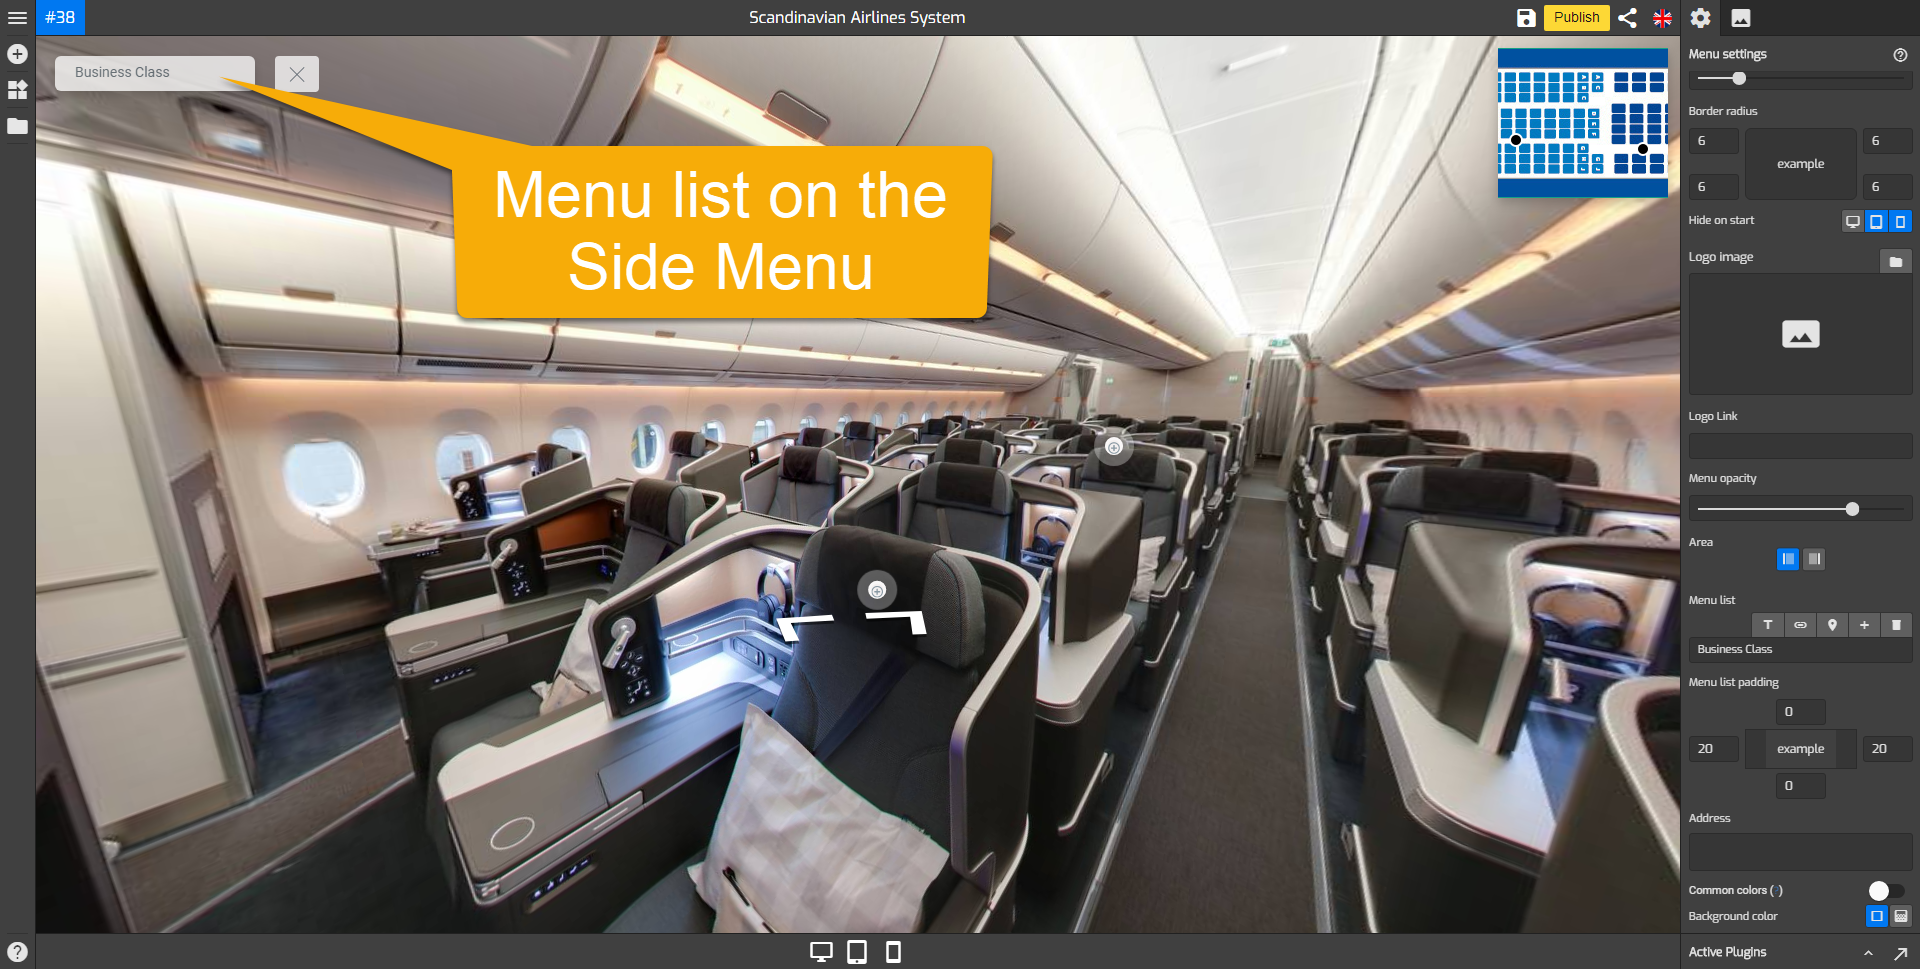
2. The menu settings appear on the right panel where you can configure the menu setups and add items to the menu list. For more information about the available tools and their functions, see “How to Work with the Menu settings?” below.
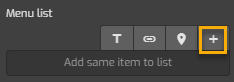
3. Add an item to the menu list and by default the side menu appears at the left corner of your Overlay screen. There are some options of the items you can add to the menu list, such as text, link, hotspot, or active pano. For more information about how to work the menu list, see "How to Add Items to the Menu List?"
4. Set up the menu design and fill all the information about the side menu. If you would like to make more significant changes to the menu, see “How to work with the Menu Settings?” below.
5. Click the "Save" and "Publish" to see the results.
How to add Items to the Menu List?
- Navigate to the Menu list.
2. Add the desired items to the menu list.
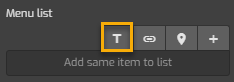
- Add Text: If you want to put just a text on your menu list. Click on the button and enter the name of menu.
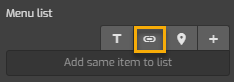
- Add link: To add a certain web link to the menu list. Click on the link button and enter the name of the menu as well as a website URL that will connect to the menu list.
- Add Hotspot: To add a specific item on as a hotspot to the menu list (this is different from a hotspot in plugin manager because it will be shown on your menu list and viewers can click it from the list).

- Add active pano: To add a pano to the list first you must position your screen on the desired pano (angle and zoom). Click “add active pano” then enter a name for it. It will automatically add the active pano to the menu list.
3. Hit the "Save" button to save the changes.
How to add a Sub-menu to the Menu List?
- Navigate to the Menu list.
2. Move the intended sub-menu beneath the target menu.
3. Click on the "in" button on the intended sub-menu. You will see that it's automatically added to the target menu or main menu.
4. Remember to click the "Save" button to save the changes.
How to Work with the Menu Settings?
This section will explain step-by-step guide how to work with the available tools under the menu settings.
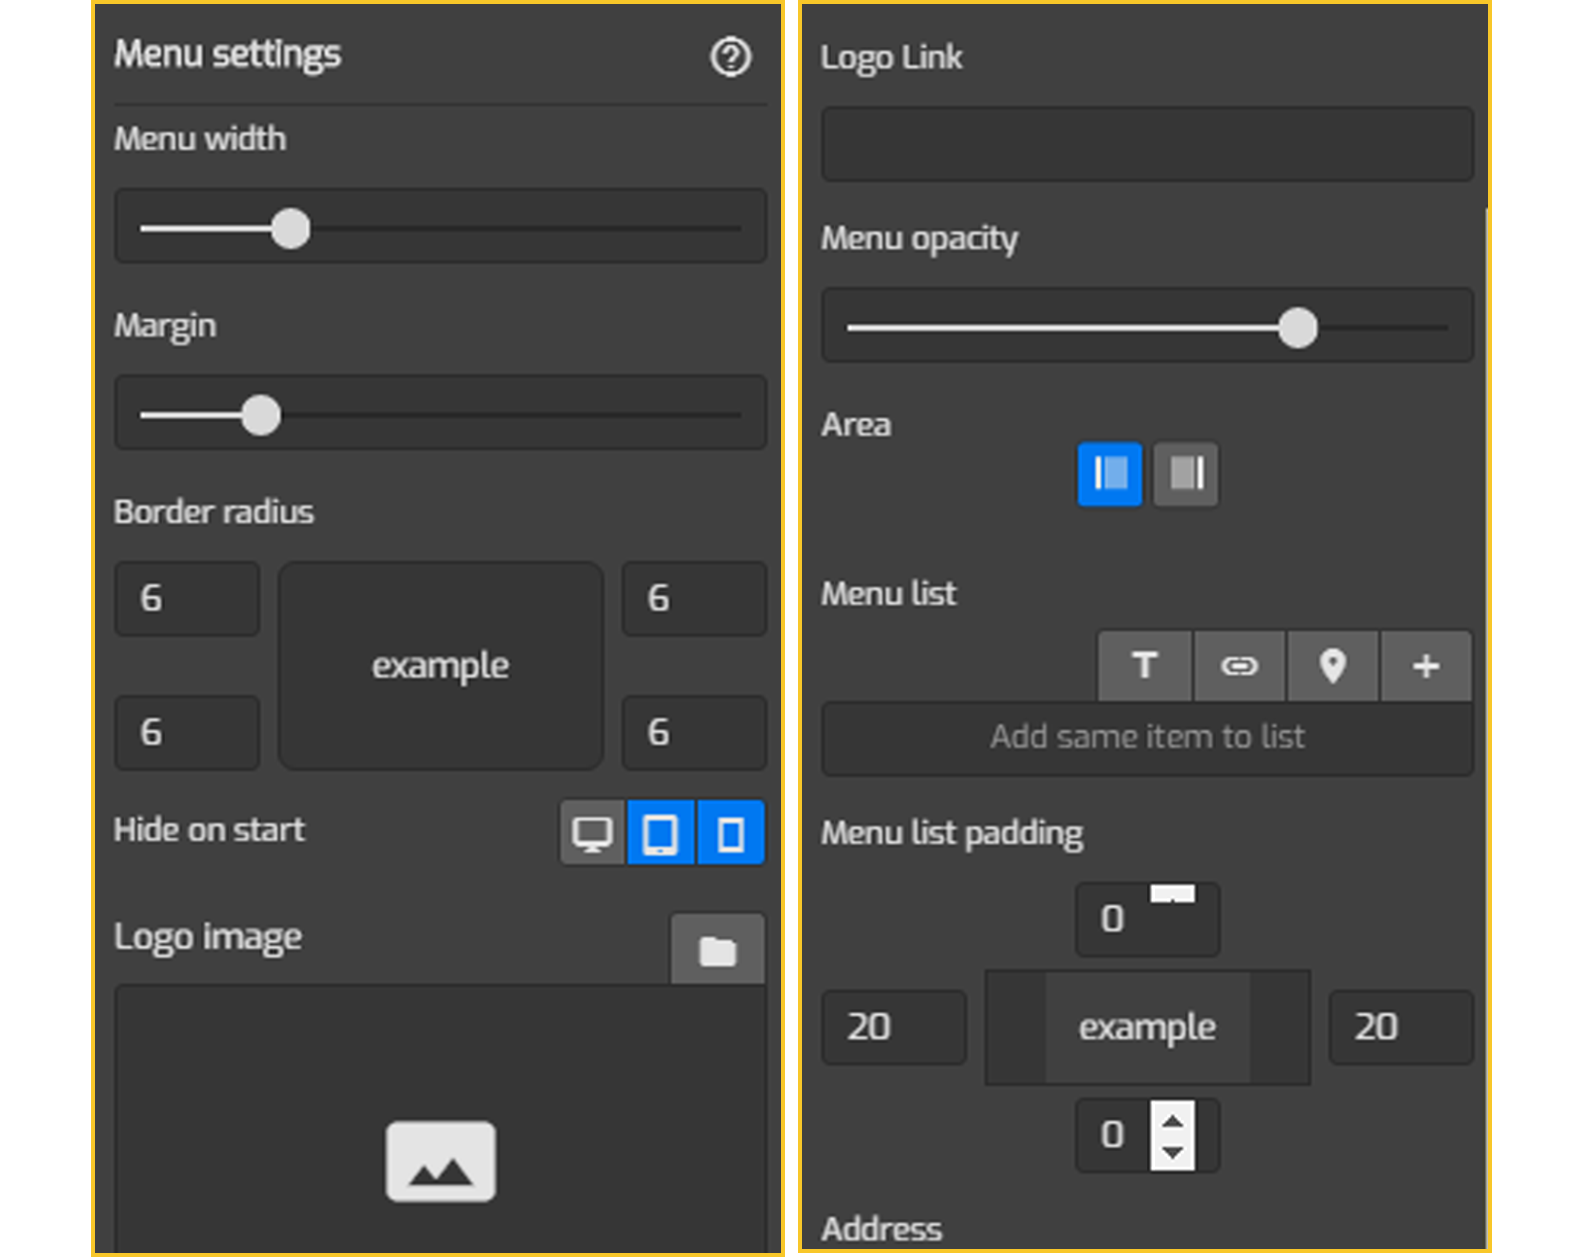
Menu Width
A tool you can use to adjust the size of the menu. Move the slider to the right to increase the width of the side menu and to the left to decrease it.
Note: you cannot see the effect of increasing or the decreasing menu width if you haven’t added the logo image of your menu. So, it is better if you add logo image first and then adjust the size using menu width.
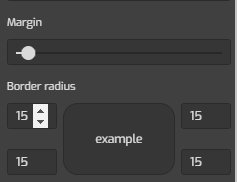
Margin
Margin is the distance between your menu to the end corner of the screen, adjust the margin to make the design of your overlay more interesting and match the design of the Side Menu you have created.
Border Radius
Border radius is the amount of roundness of the corner in your menu background design. Increase the number in each field to make a rounded corner, GoThru Overlay Border Radius will automatically adjust all 4 corners at once if you click on the up arrow shown on the field in border radius. To adjust one specific corner manually click on the respected field and enter the desired number. The following example shows you the amount of roundness at 15 pixel border radius

Hide on start
This function allows you to set a button for when the menu is open and close based on mobile, tablet, or desktop.

Logo Image
Put the logo of your company or store to the top of the side menu, click on the image symbol and it will open up the asset manager, you can upload or choose the logo you want to use from the asset manager.
Logo Link
Paste the homepage of your website to the link, to direct the viewer when they click on your menu logo.
Menu Opacity
Use this tool to adjust the transparency of your menu.
Area
In the Side menu you have 2 options to put your menu on the screen, on the left and the right side.
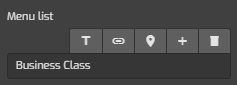
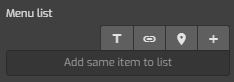
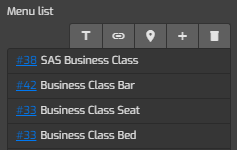
Menu List
Here you can create the list of your menu there are options
Add Text
If you want to put just a text on your menu list
Add link
To add a certain web link to your menu
Add Hotspot
To add a specific item on as a hotspot to the menu list (this is different from hotspot in plug in manager because it will be shown on your menu list and viewers can click it from the list)
Add active pano
To add a pano to the list first you must position your screen on the desired pano (angle and zoom) and then click on the “add active pano” it will directly choose your current active pano.
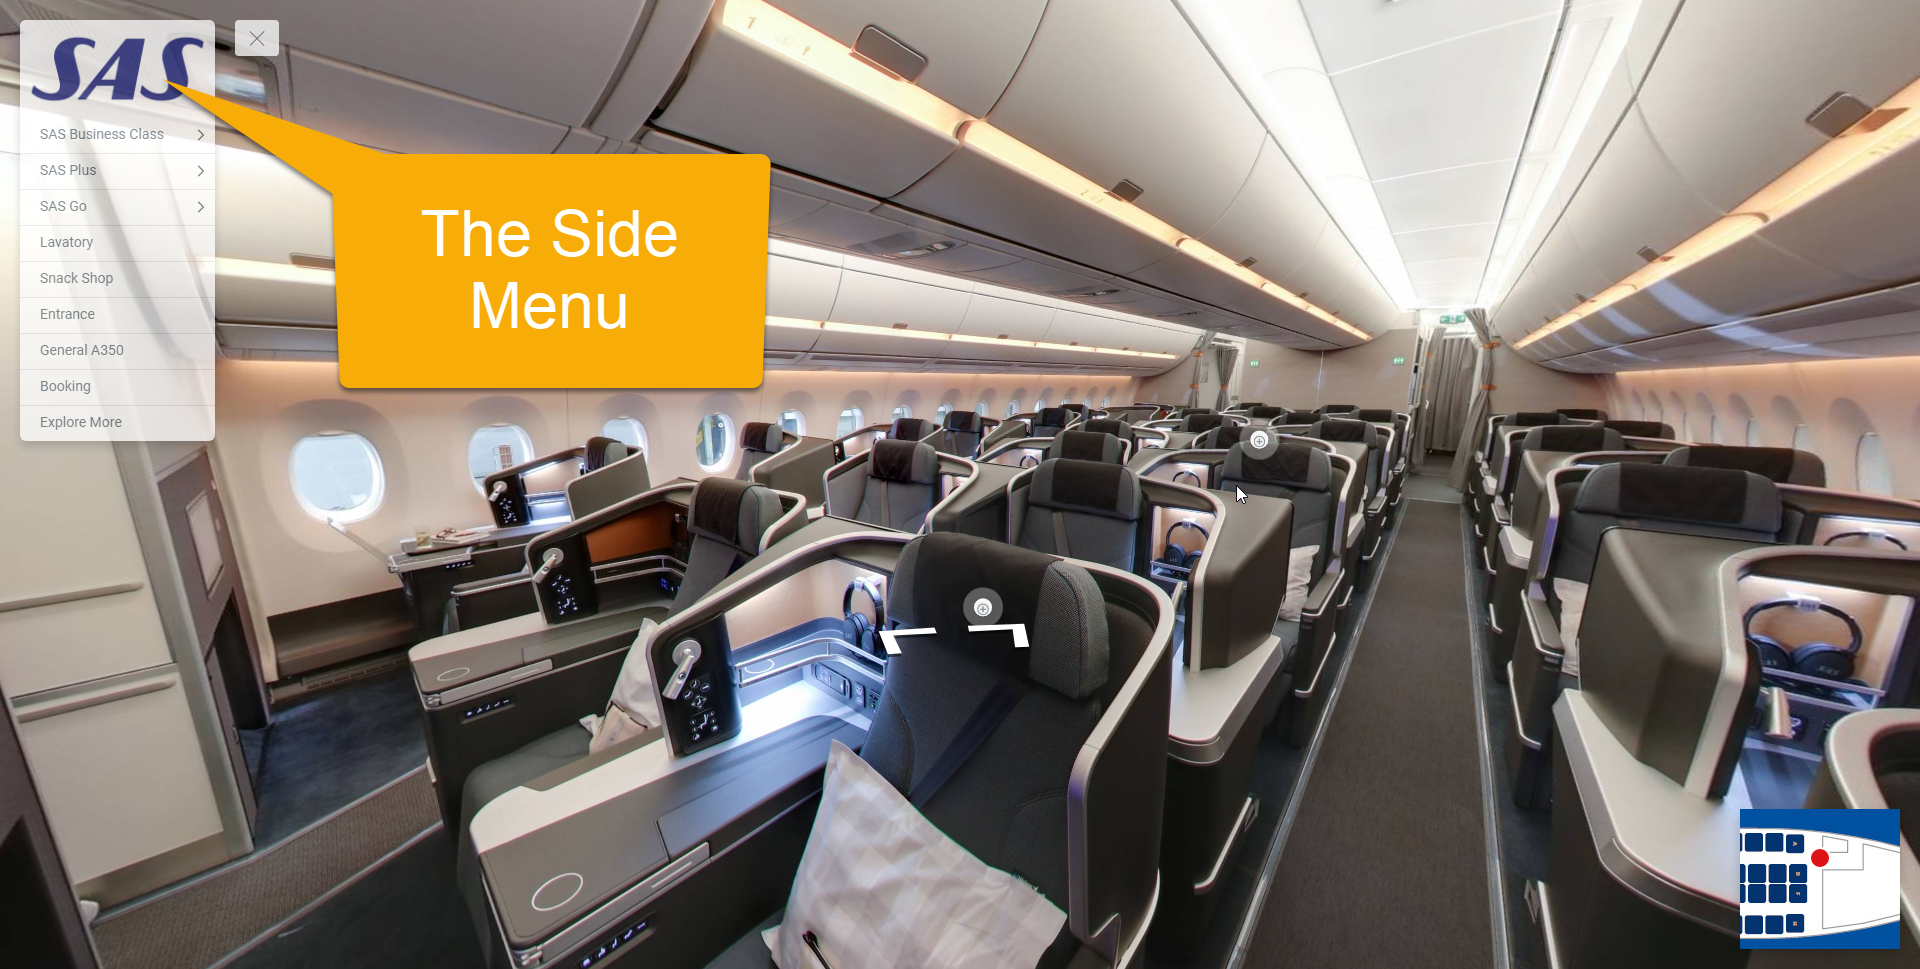
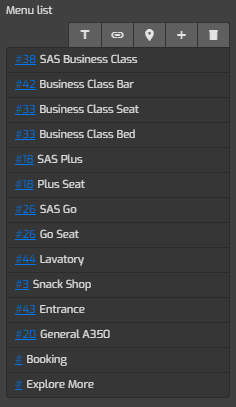
Following example shown one active pano of the plane tour listed to the menu as “SAS Plus”

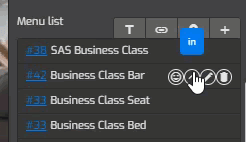
Once you’ve created a list to the menu you can make a sub menu under one list, in following image you can see that “SAS Business class” has 3 sub menus under it.

To make a sub menu like those you simply add a new menu list and then click on the “In” arrow on the Menu list you just created [.gif “in menu list”]
You can also add an Icon to a Menu or sub menu list, to add an Icon click on the Icon option on the menu list you have created then choose one icon available in GoThru overlay editor.


Hover Color
This is the color of your side menu while it’s not being touch by a mouse pointer, in-active or simply hovering in its position
Background color
The color of the background of your menu, use this tool to make your menu design unique to your brand
Active Color
The color of the active list on the menu, the active list is the one just being clicked
Text color
The color of text on your menu